Our Backyard Beach Retreat!
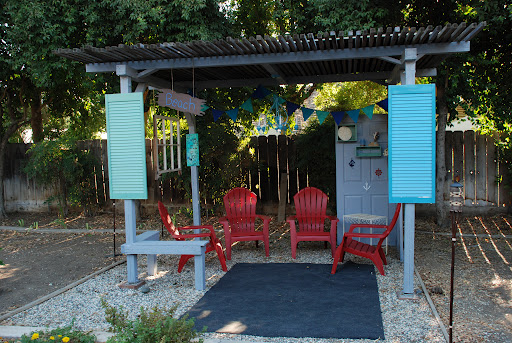
As much as I would love to live on beach front property, at this point in our lives, I know it is not a possibility. So we created a beach retreat in our own backyard!
 
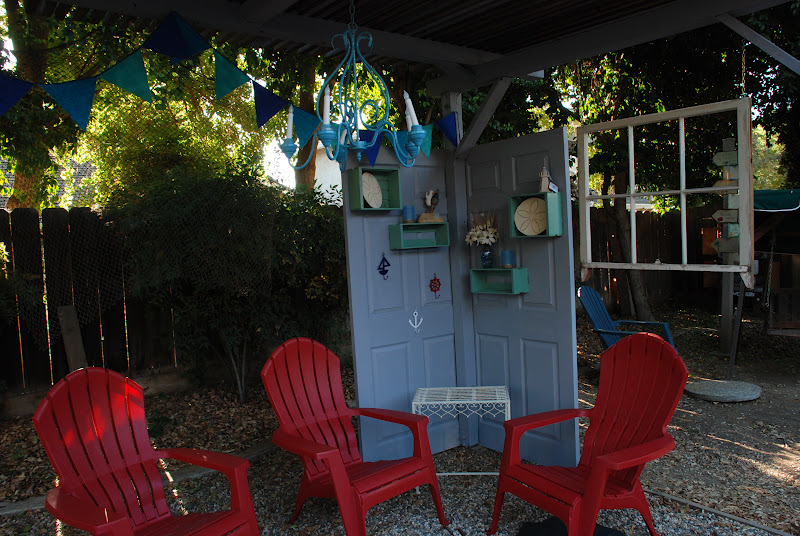
The inspiration for this was in a previous post, but we weren't quite finished with the project yet. We have been able to finish a couple of things up and I worked on a couple of decorative items, so now we have our backyard beach retreat to enjoy!

 I am going to love those red chairs during our cold and foggy winter mornings!
 
 I found quite a few ideas and pinned them on my Backyard and Garden board on Pinterest. Be sure to hope over there if you need some backyard inspiration!
 
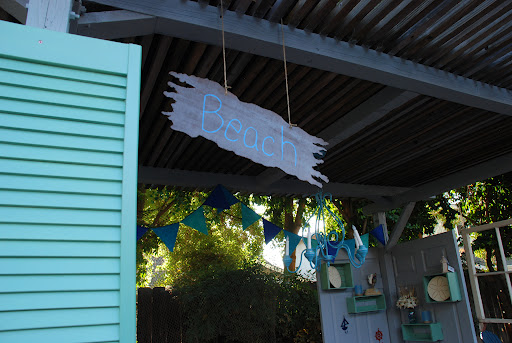
Matthew spent quite a bit of time with the jigsaw cutting out this 'driftwood' sign for our beach.
 
As I mentioned in my previous post, a lot of the items we added to 'the beach' were already sitting around in the garage. With some paint and a few additions, we were able to creatively and somewhat frugally create a backyard retreat area that we will be able to enjoy for quite some time!

A Little Frugal Creativity

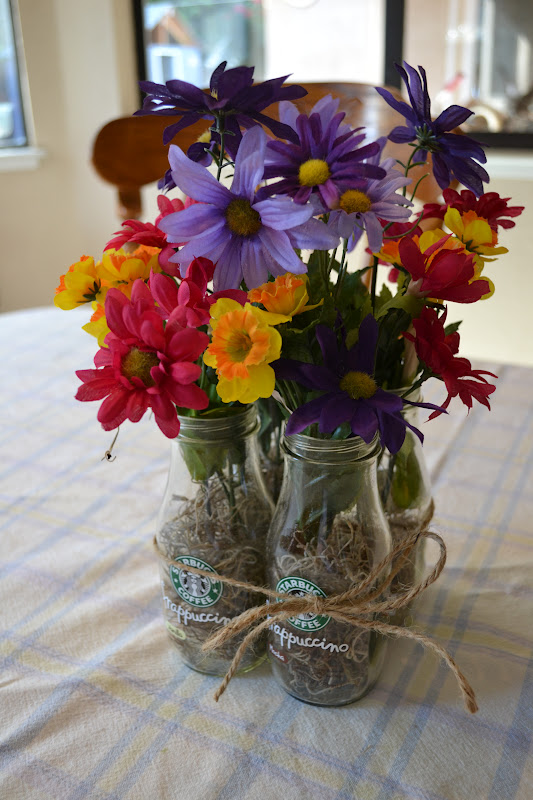
Ever since I completed this Pinterest inspired project, I have been on the lookout for other creative ways I can use containers that I usually just place in the recycling bin.

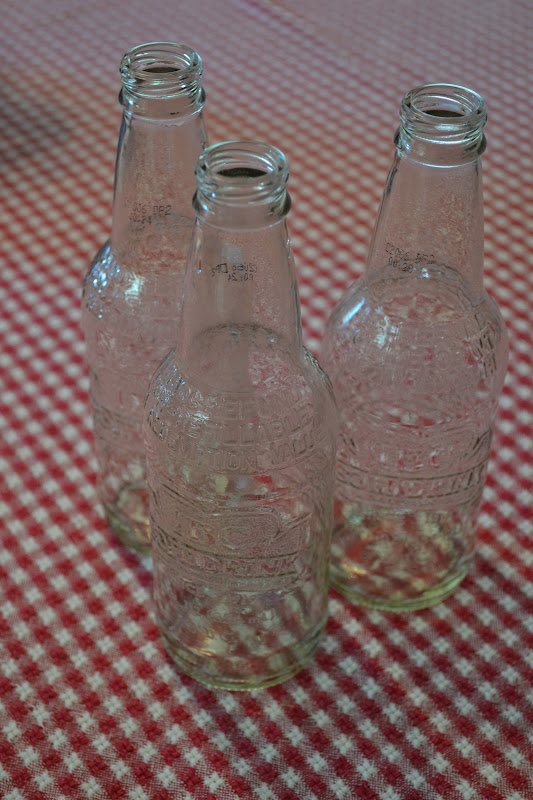
 My family likes to drink root beer, so every now and then, we have some empty glass bottles.

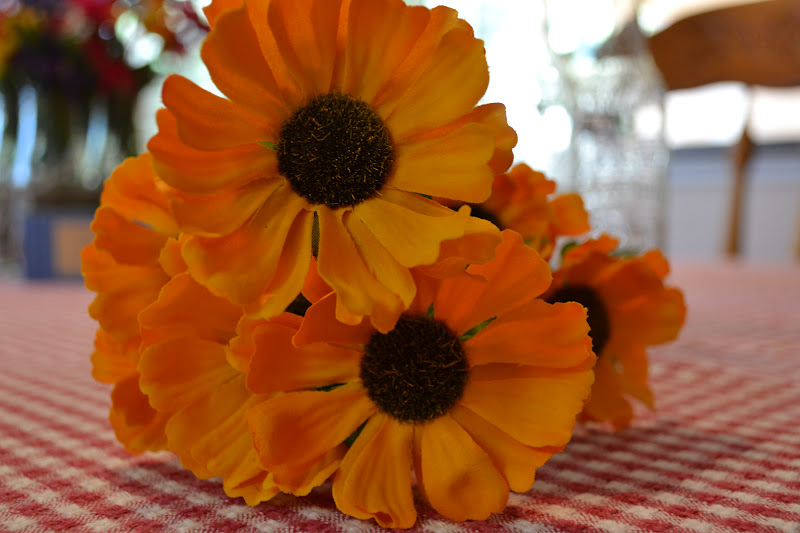
 Kelsey and I ran a couple of errands today, so we picked up these flowers while we were out.

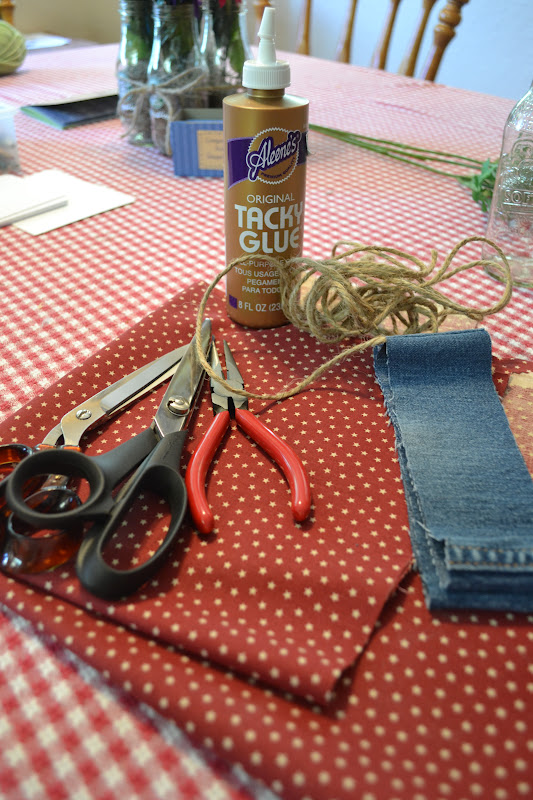
 Here are the other supplies that I already had at home. Kelsey just cut off some jeans to make long shorts. I thought the jean material would make a great addition to this project!

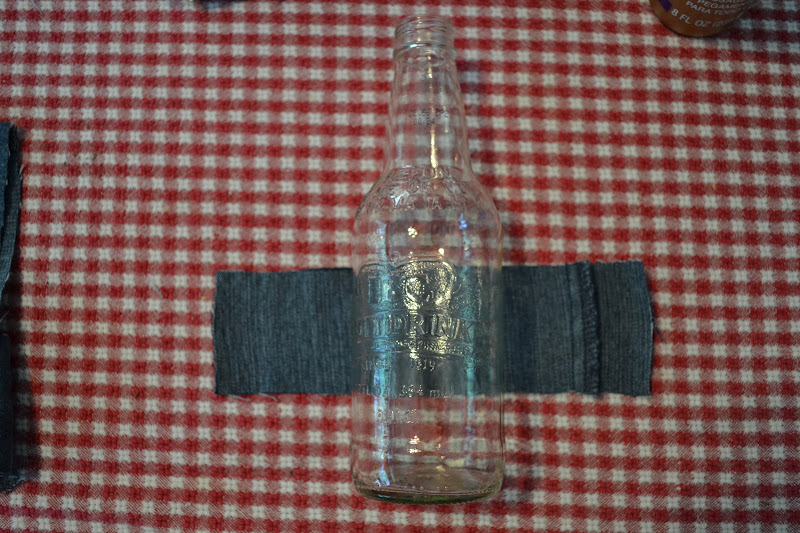
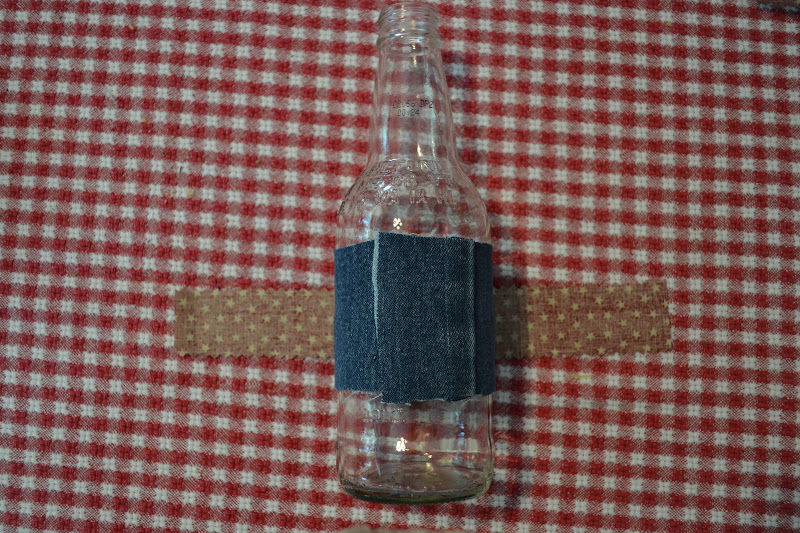
 First, I cut one jean piece to fit around the bottle and just used tacky glue to attach the ends.

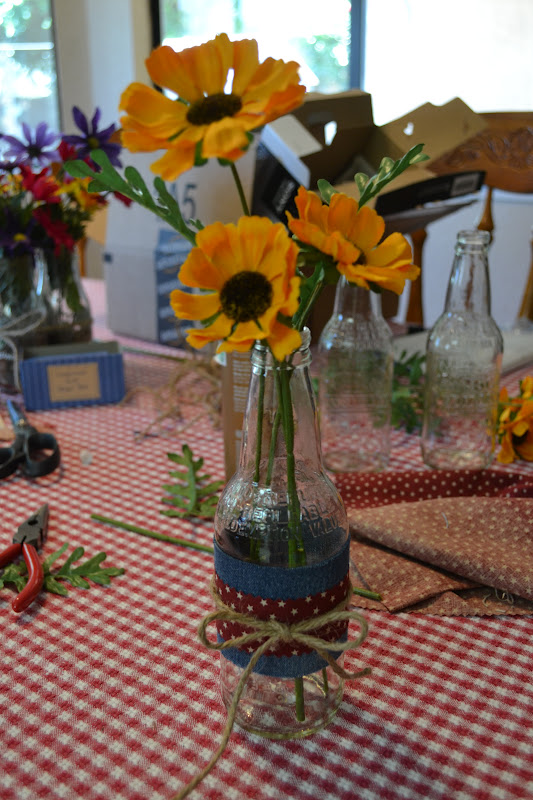
 Then I used pinking shears to cut the strip of red material and cut it to fit around the bottle. Again, I used tacky glue to attach the ends.

 The flowers were trimmed to fit inside the bottle and I added tied a jute bow around the material.

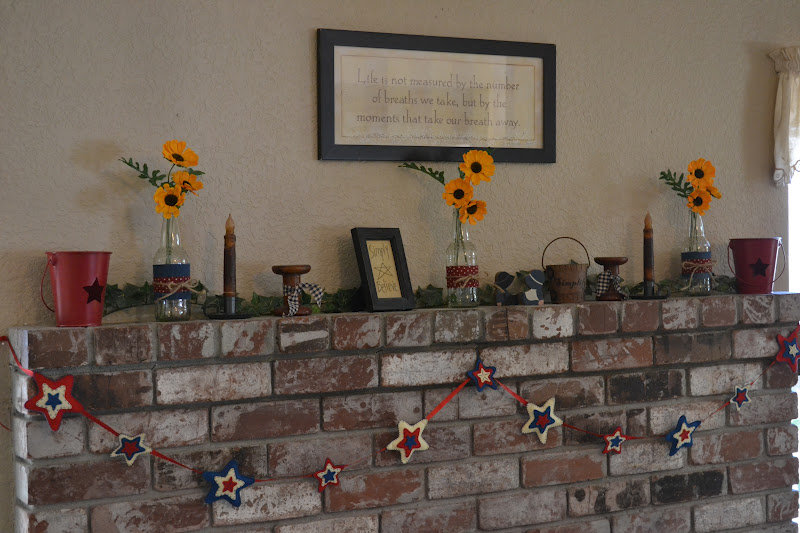
 Once all three bottles were completed, I added them to my mantle.

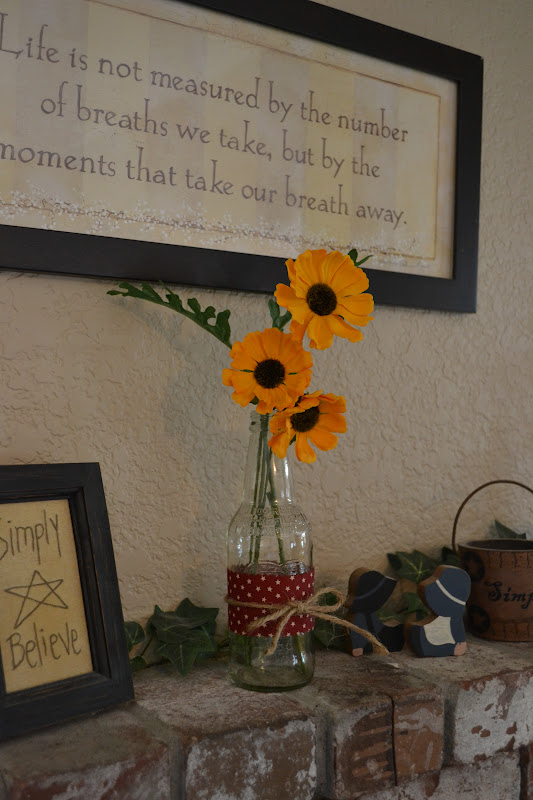
Since I didn't have enough jean material for all three bottles, this one just has the red star material around it. Sometimes you just make do with what you have and your project will still turn out just great! What fun frugal, creative project have you completed lately?

May Day Baskets

According to Wikipedia, "May Day was celebrated by some early European settlers of the American continent. In some parts of the United States, May Baskets are made. These are small baskets usually filled with flowers or treats and left at someone's doorstep. The giver rings the bell and runs away. The person receiving the basket tries to catch the fleeing giver. If they catch the person, a kiss is exchanged." When we first moved into our neighborhood, the kids and I thought it would be fun to make May Day baskets and put them on our neighbor's door knobs. These made quite an impression! Our neighbor's loved them, so we have continued the tradition every May since then. They never have rung the door bell, but have quietly placed the May Day basket on the door knob, then they run away so they won't be caught.

This year, I looked through Pinterest for some May Day basket ideas. We saw a couple of ideas that would work, but adapted them for what we had on hand.

To make these May Day baskets, you will need:
berry baskets
flower foam
glue
craft sticks
cardstock
buttons
spanish moss
scissors
flower templates
ribbon
a couple of willing helpers... :)
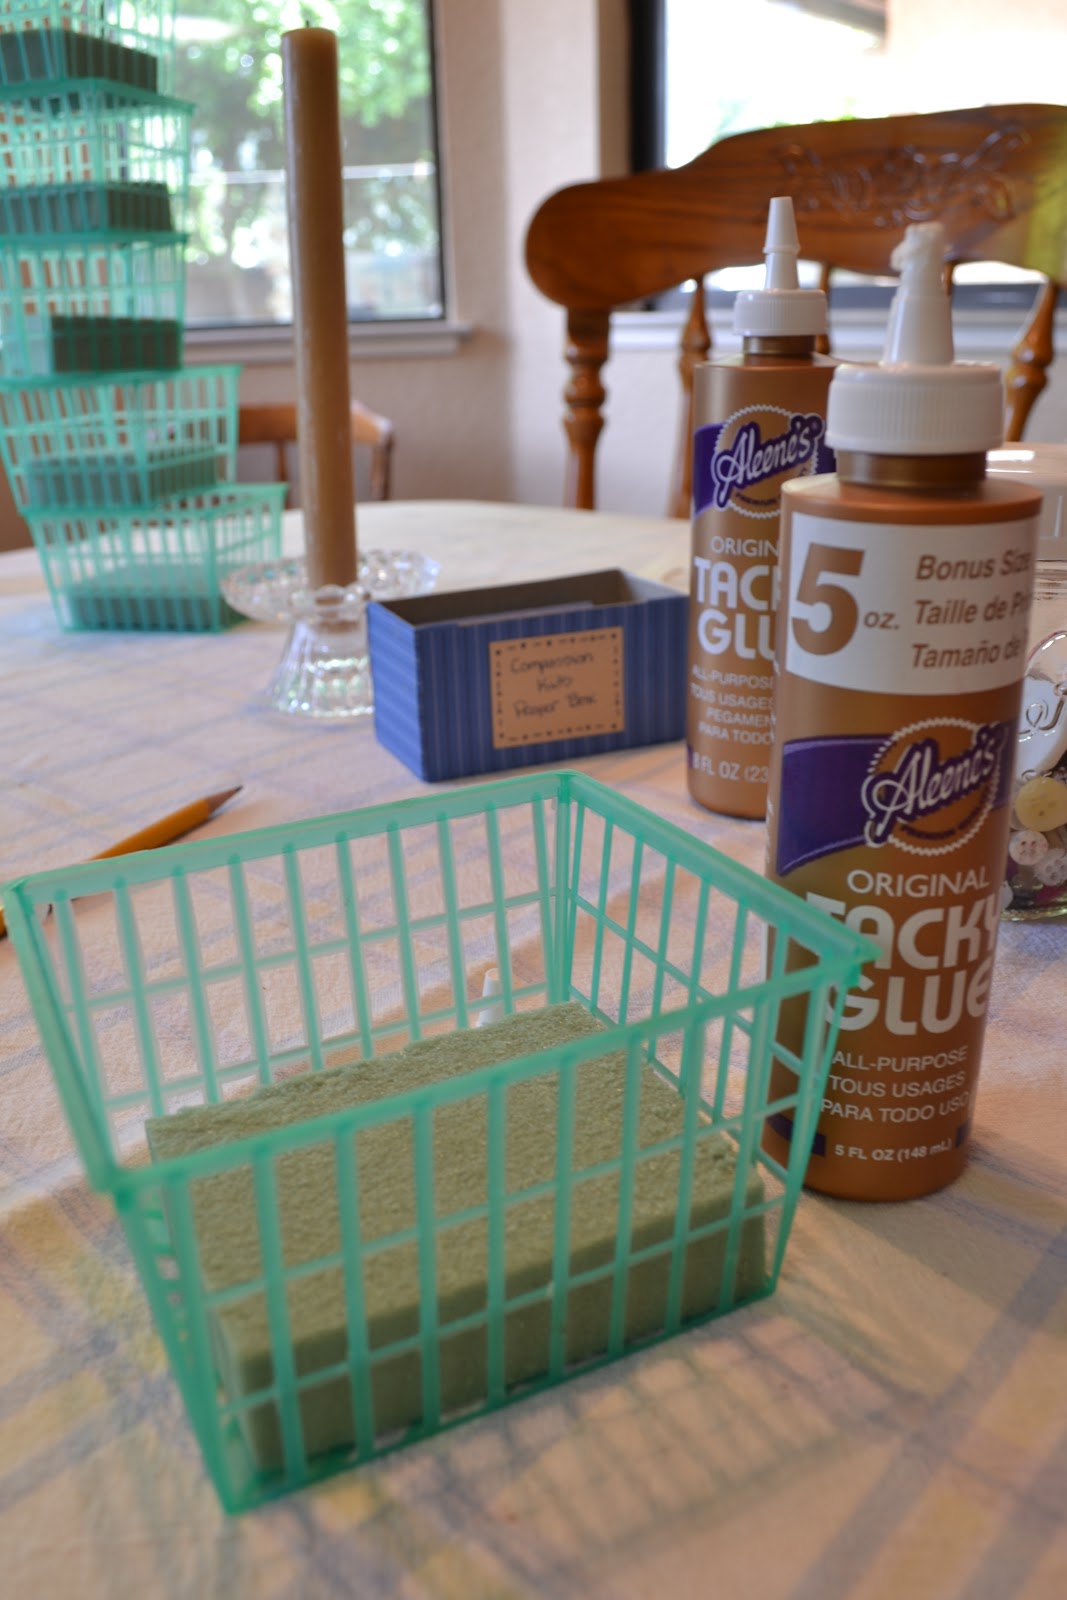
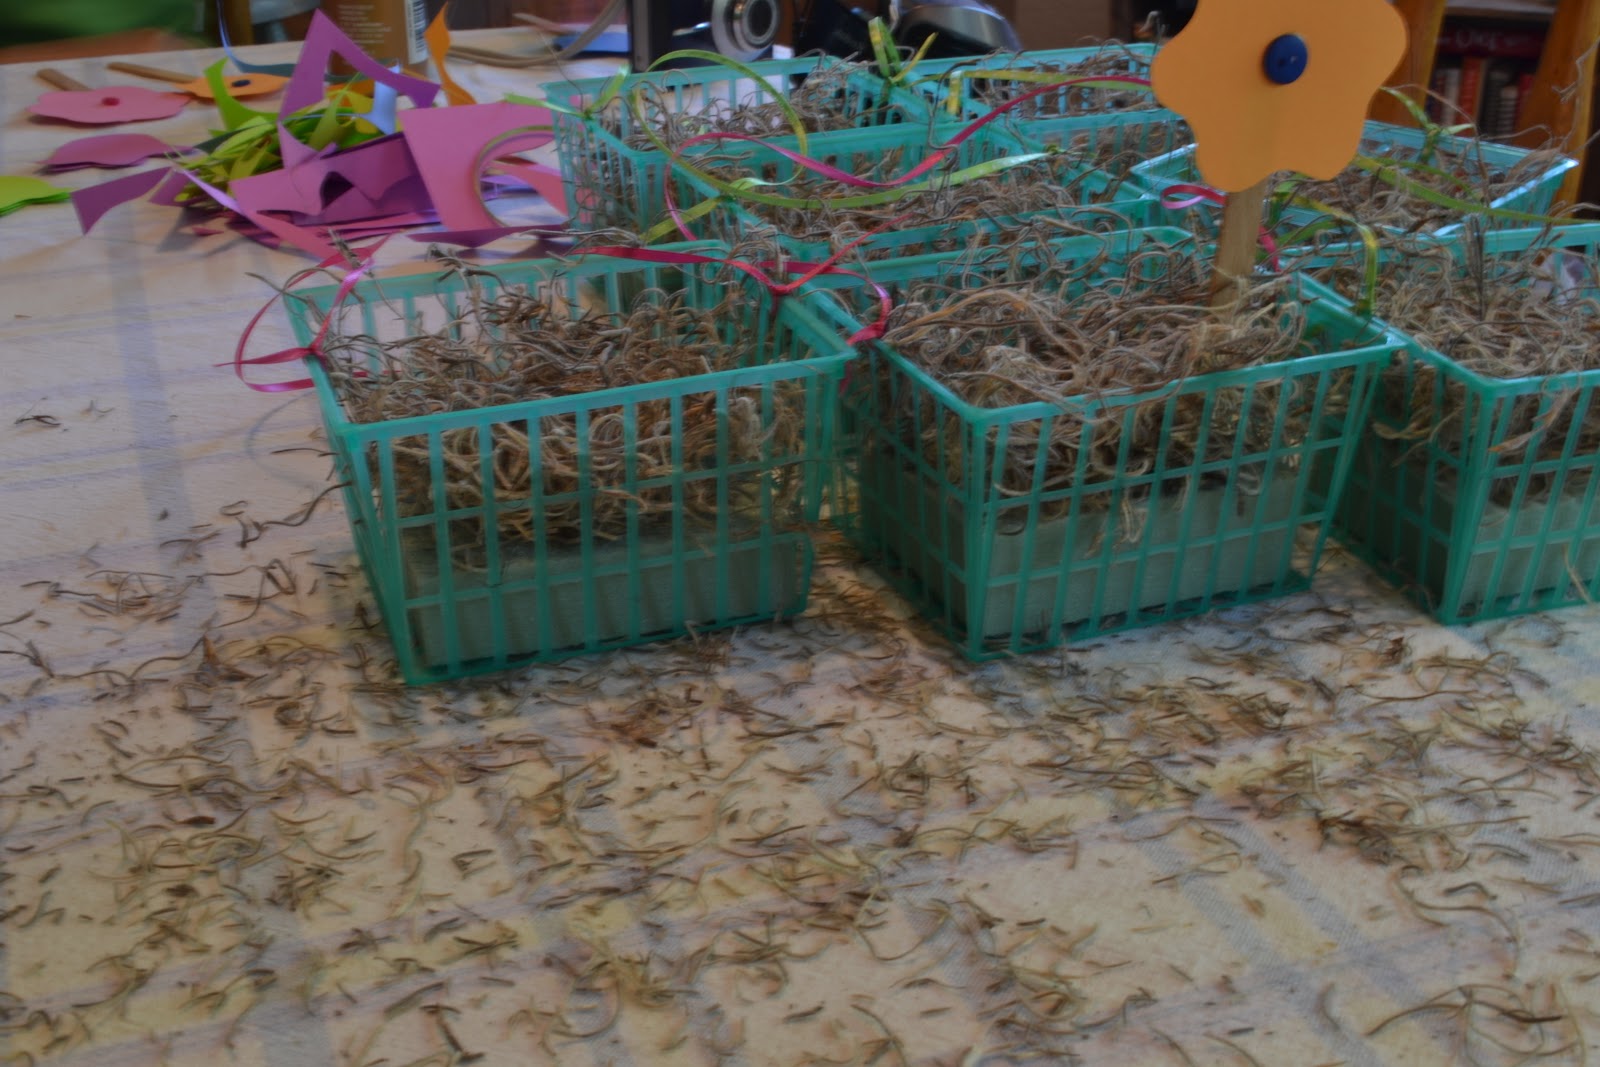
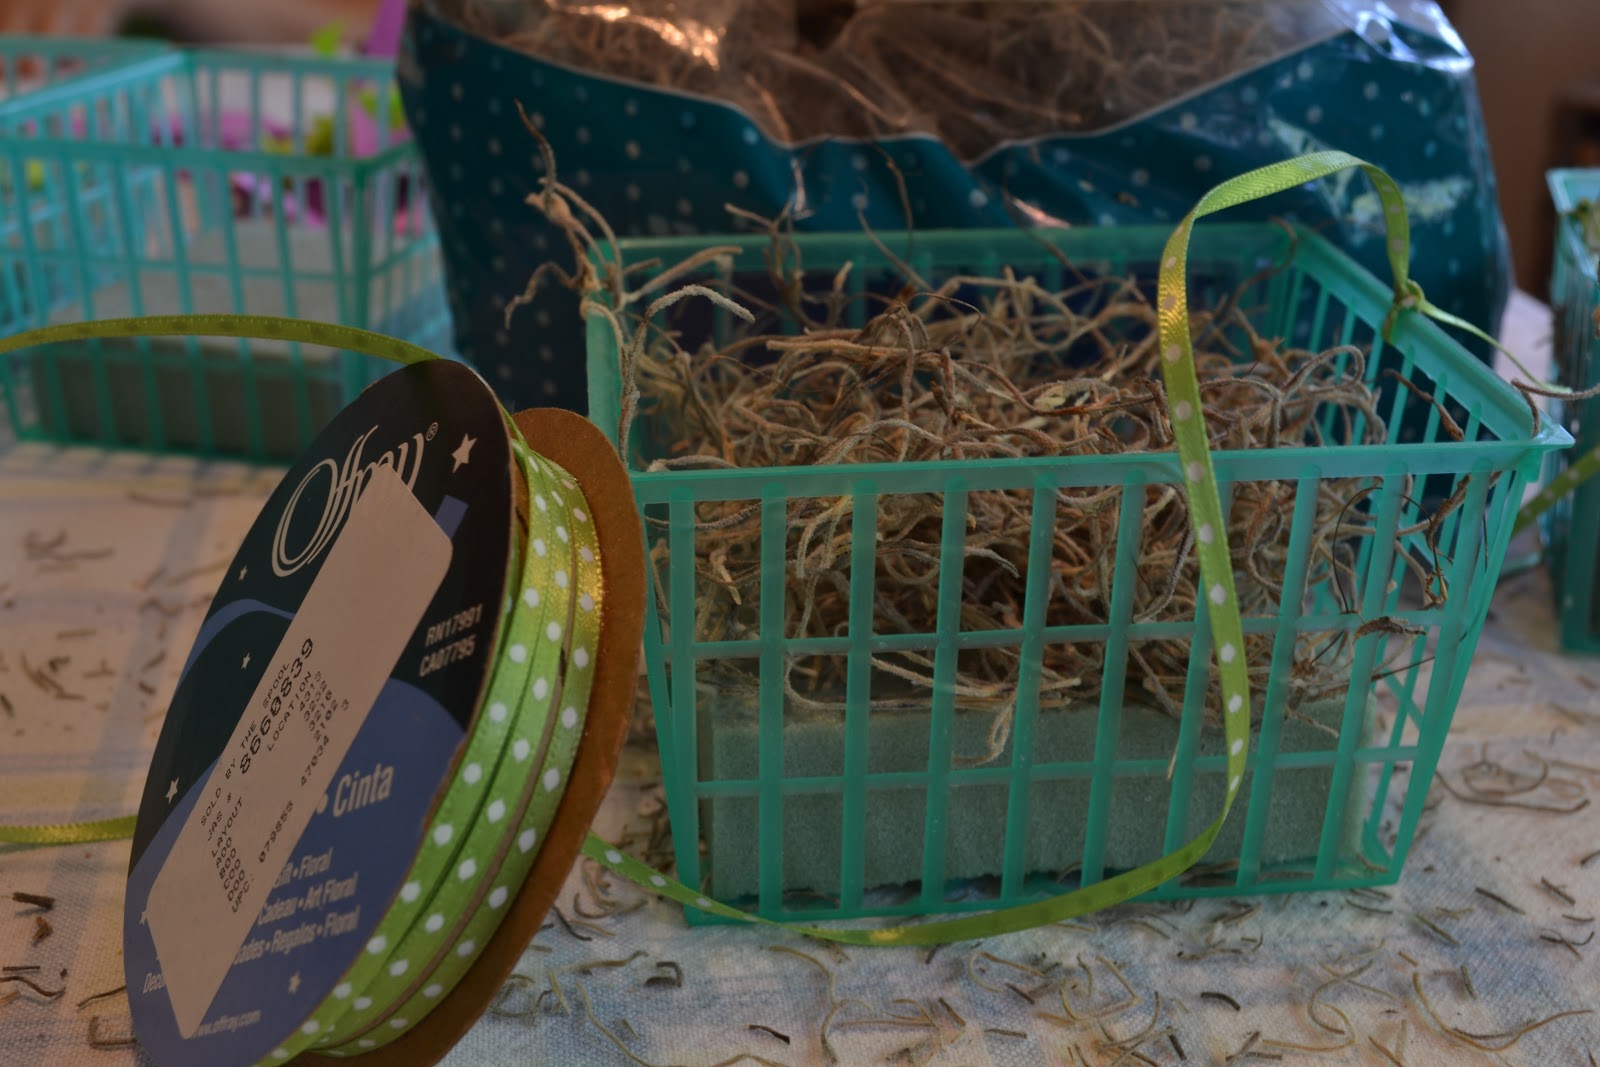
First, we glued the flower foam to the bottom of the berry basket.
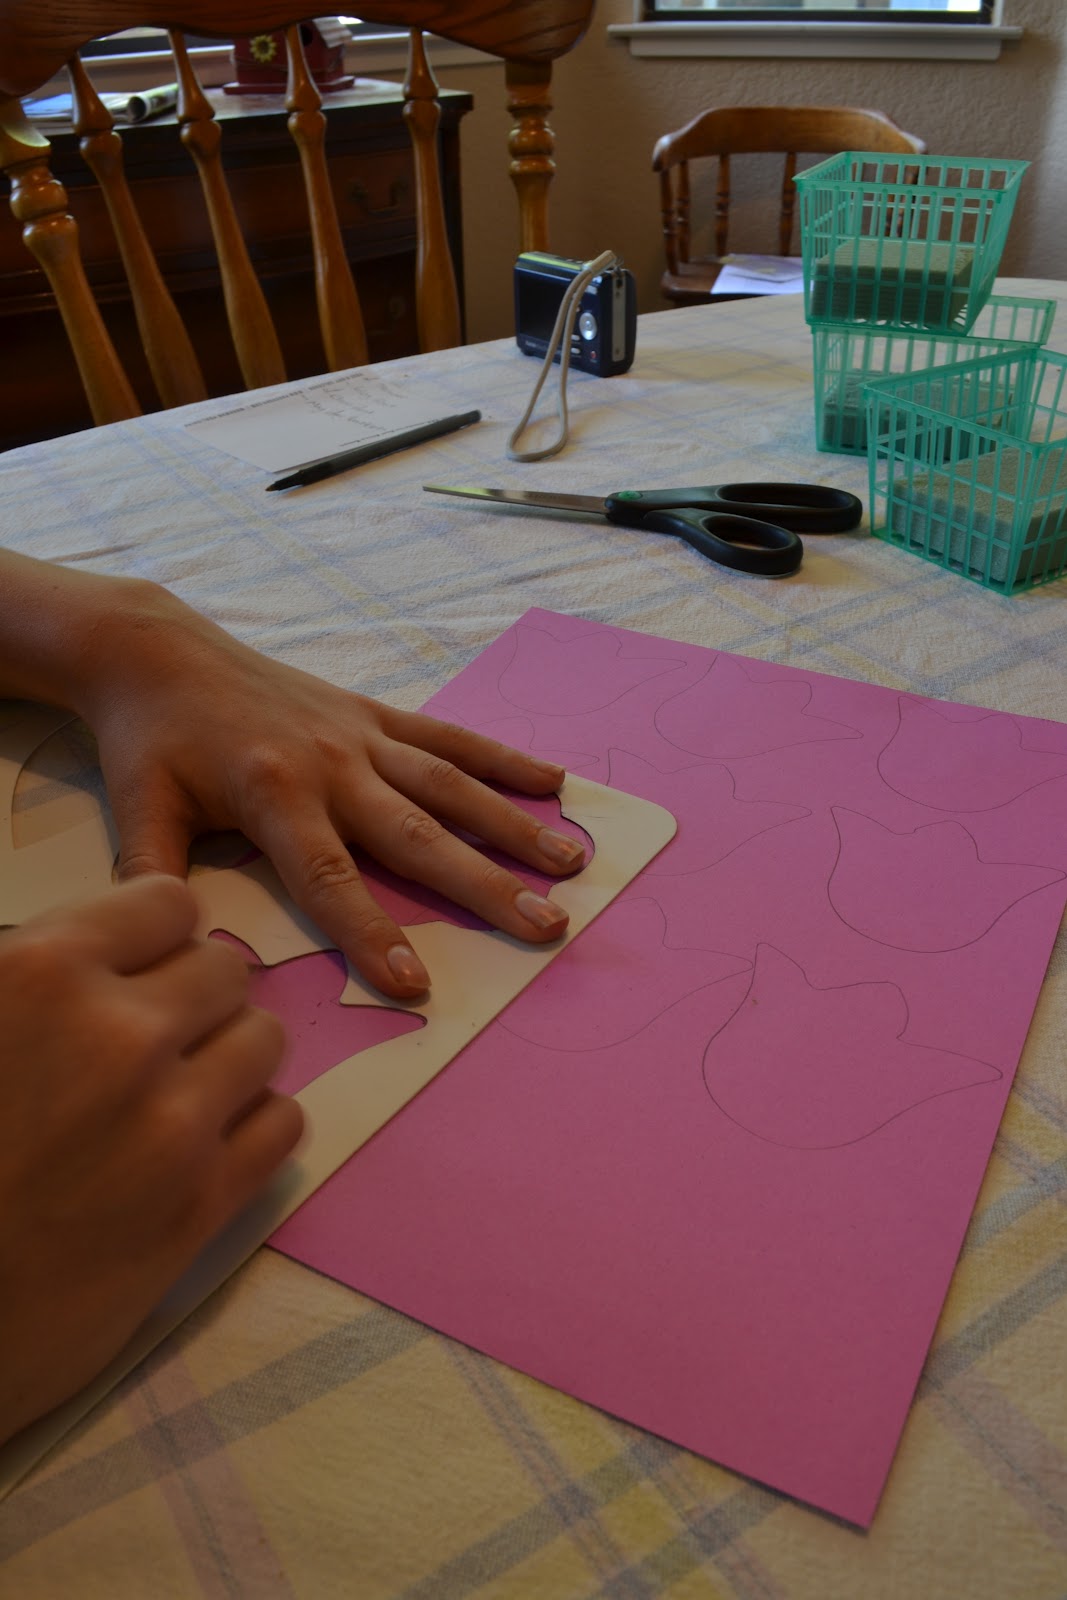
Use a flower stencil to trace the flowers onto cardstock
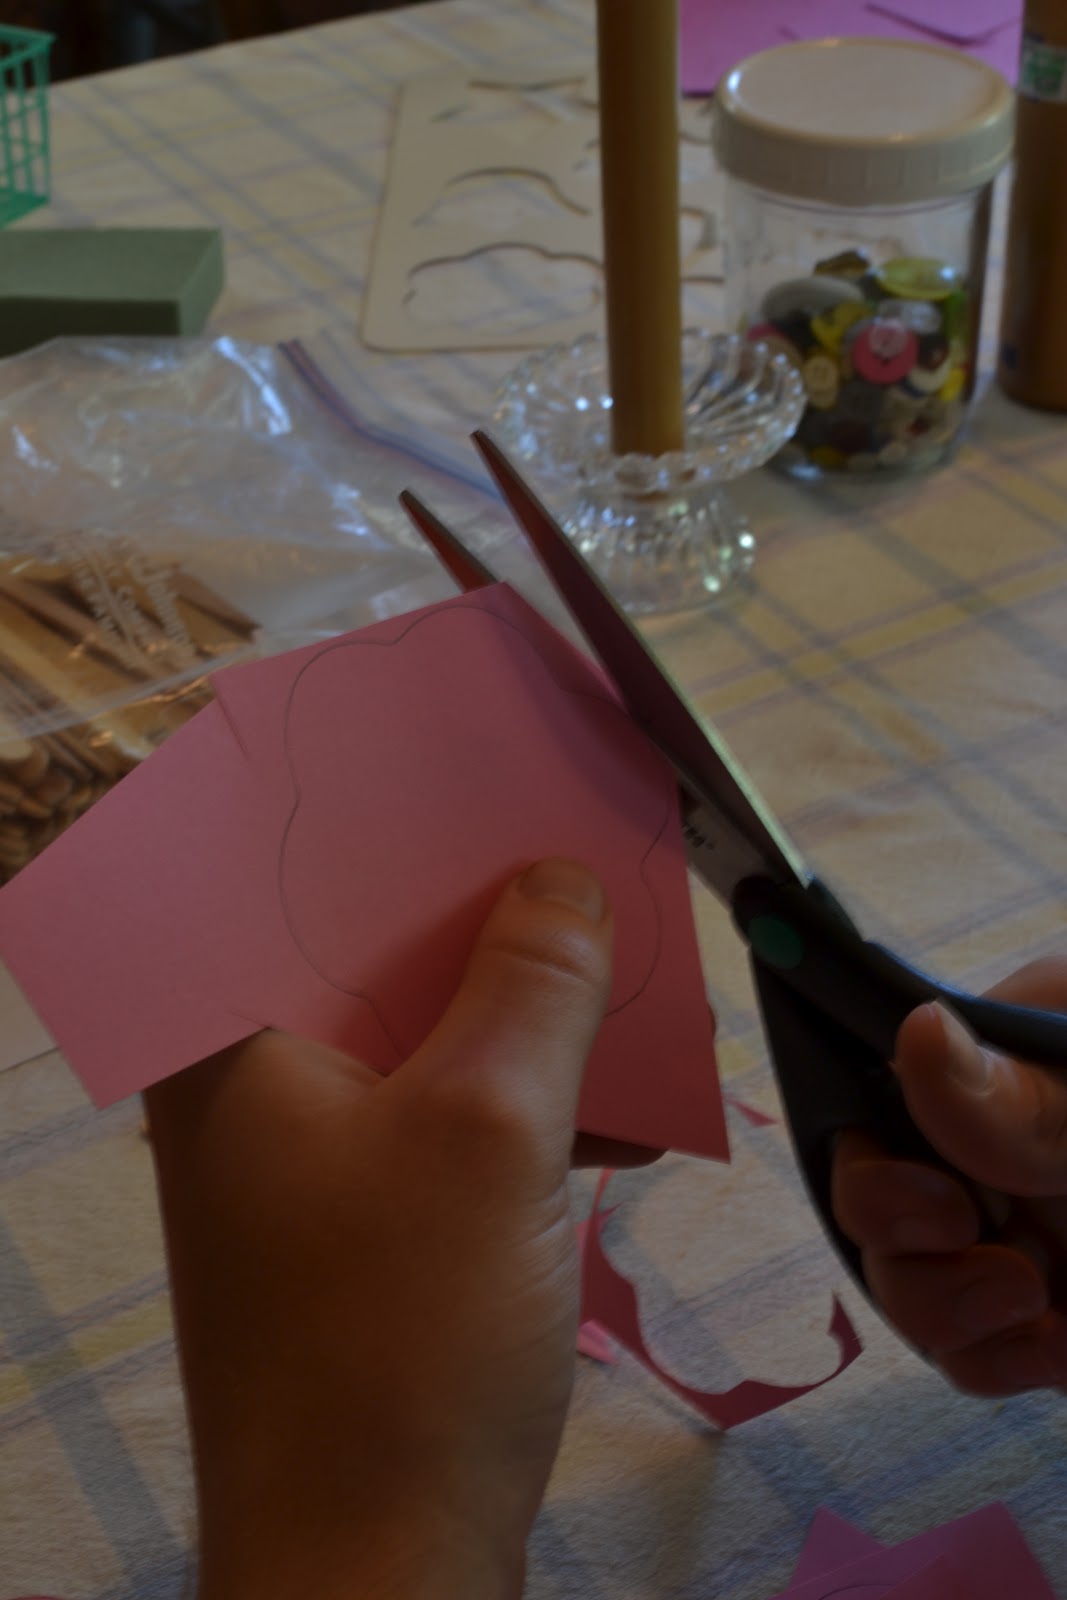
Then cut out the flower shapes.
Homemade iced coffee is always appreciated by a hard working crew... :)
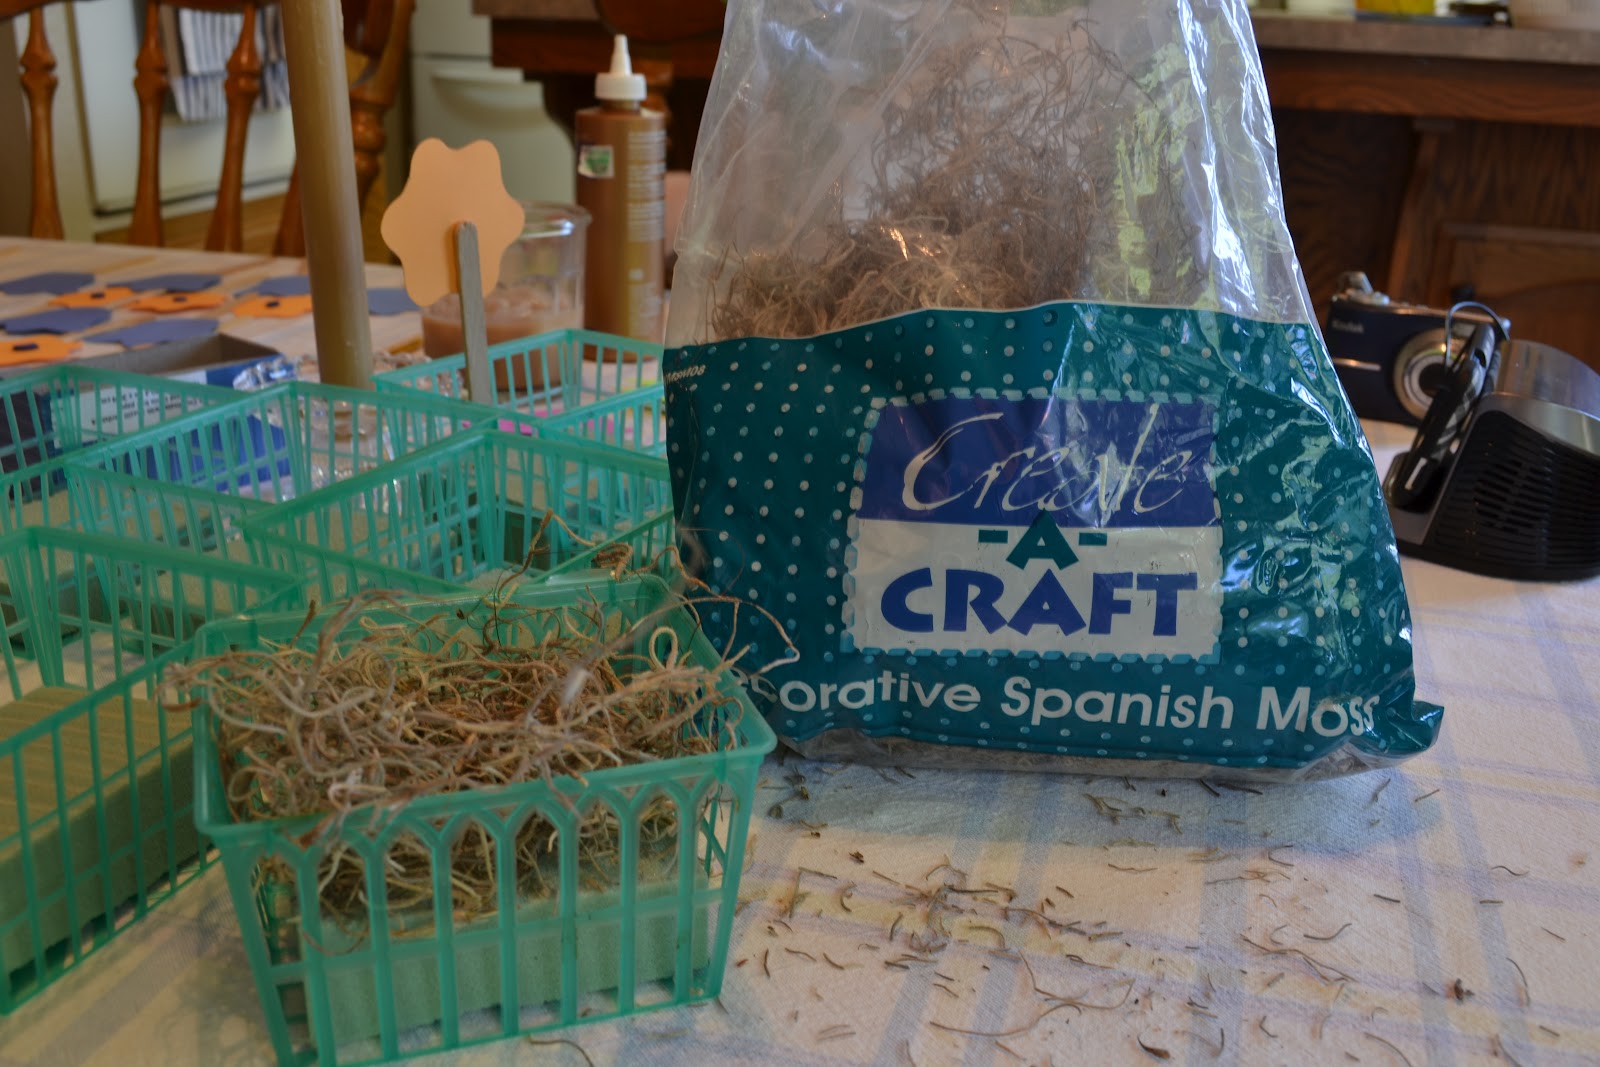
We added some spanish moss to the berry baskets.
This stuff is really messy!
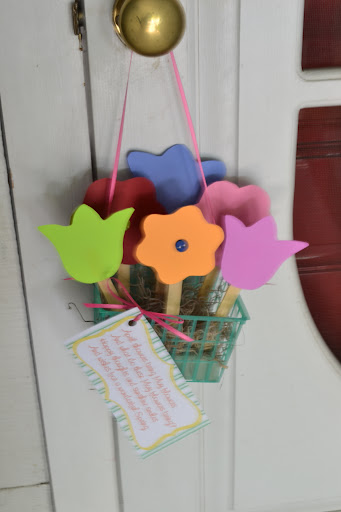
Ribbon was added to each basket so they could hang from the door knob.
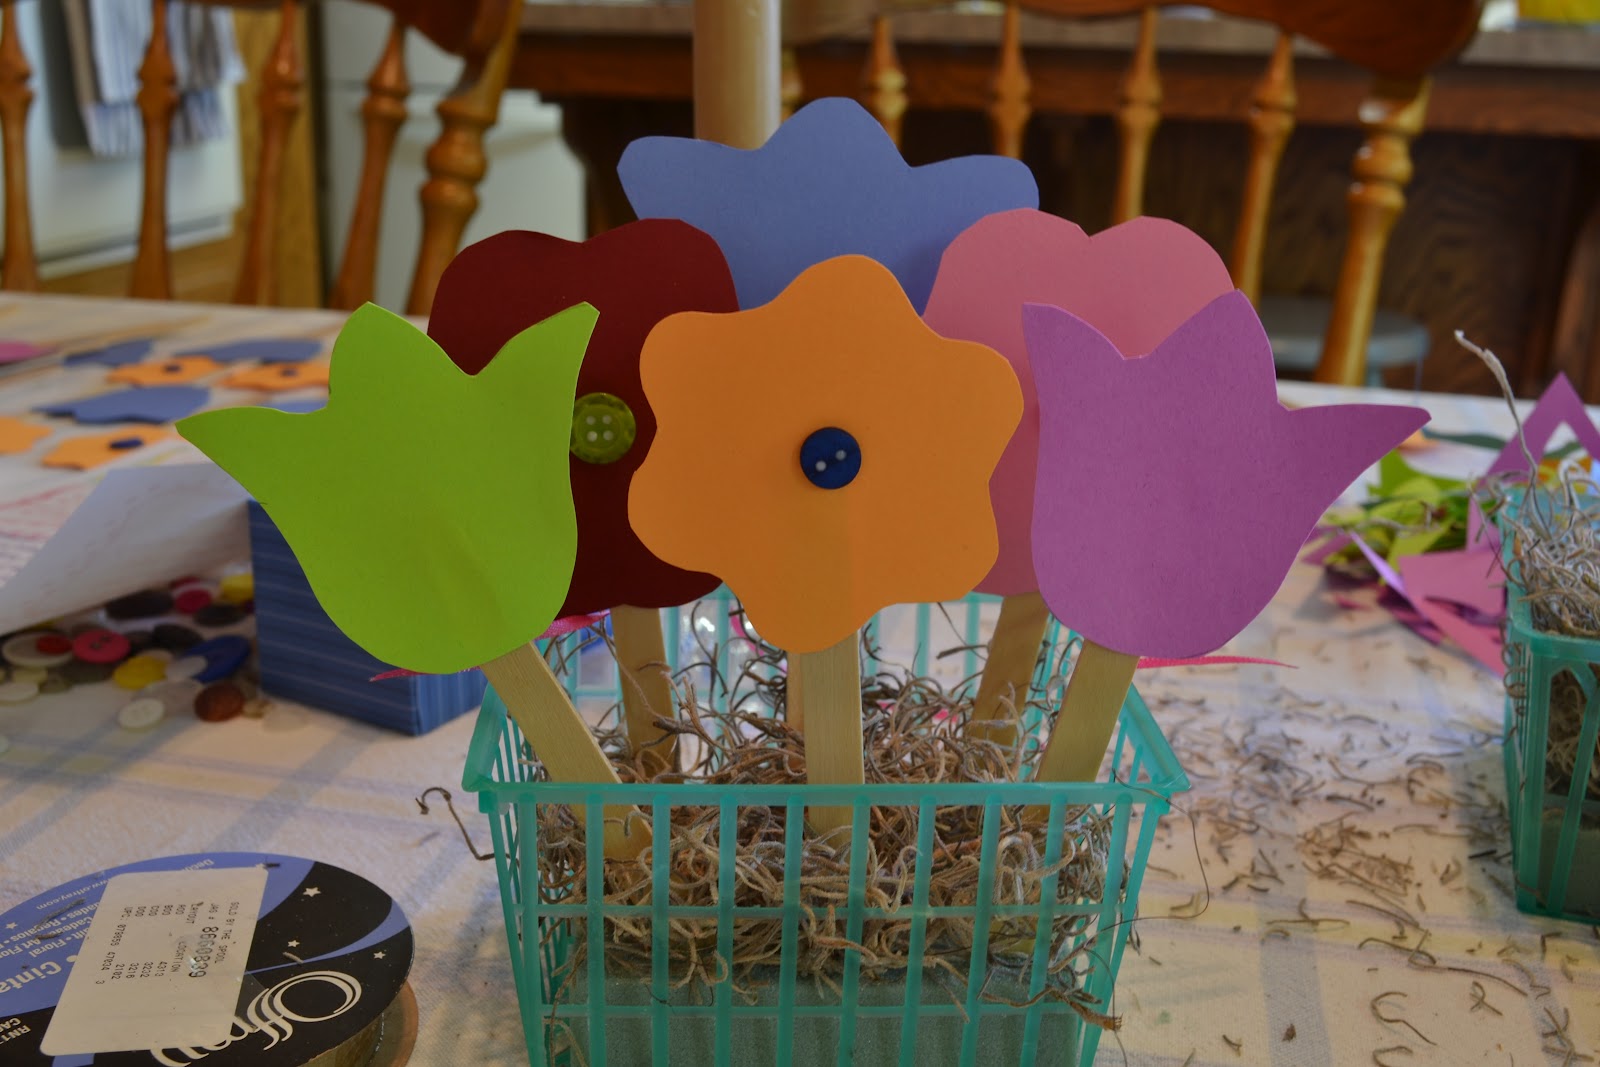
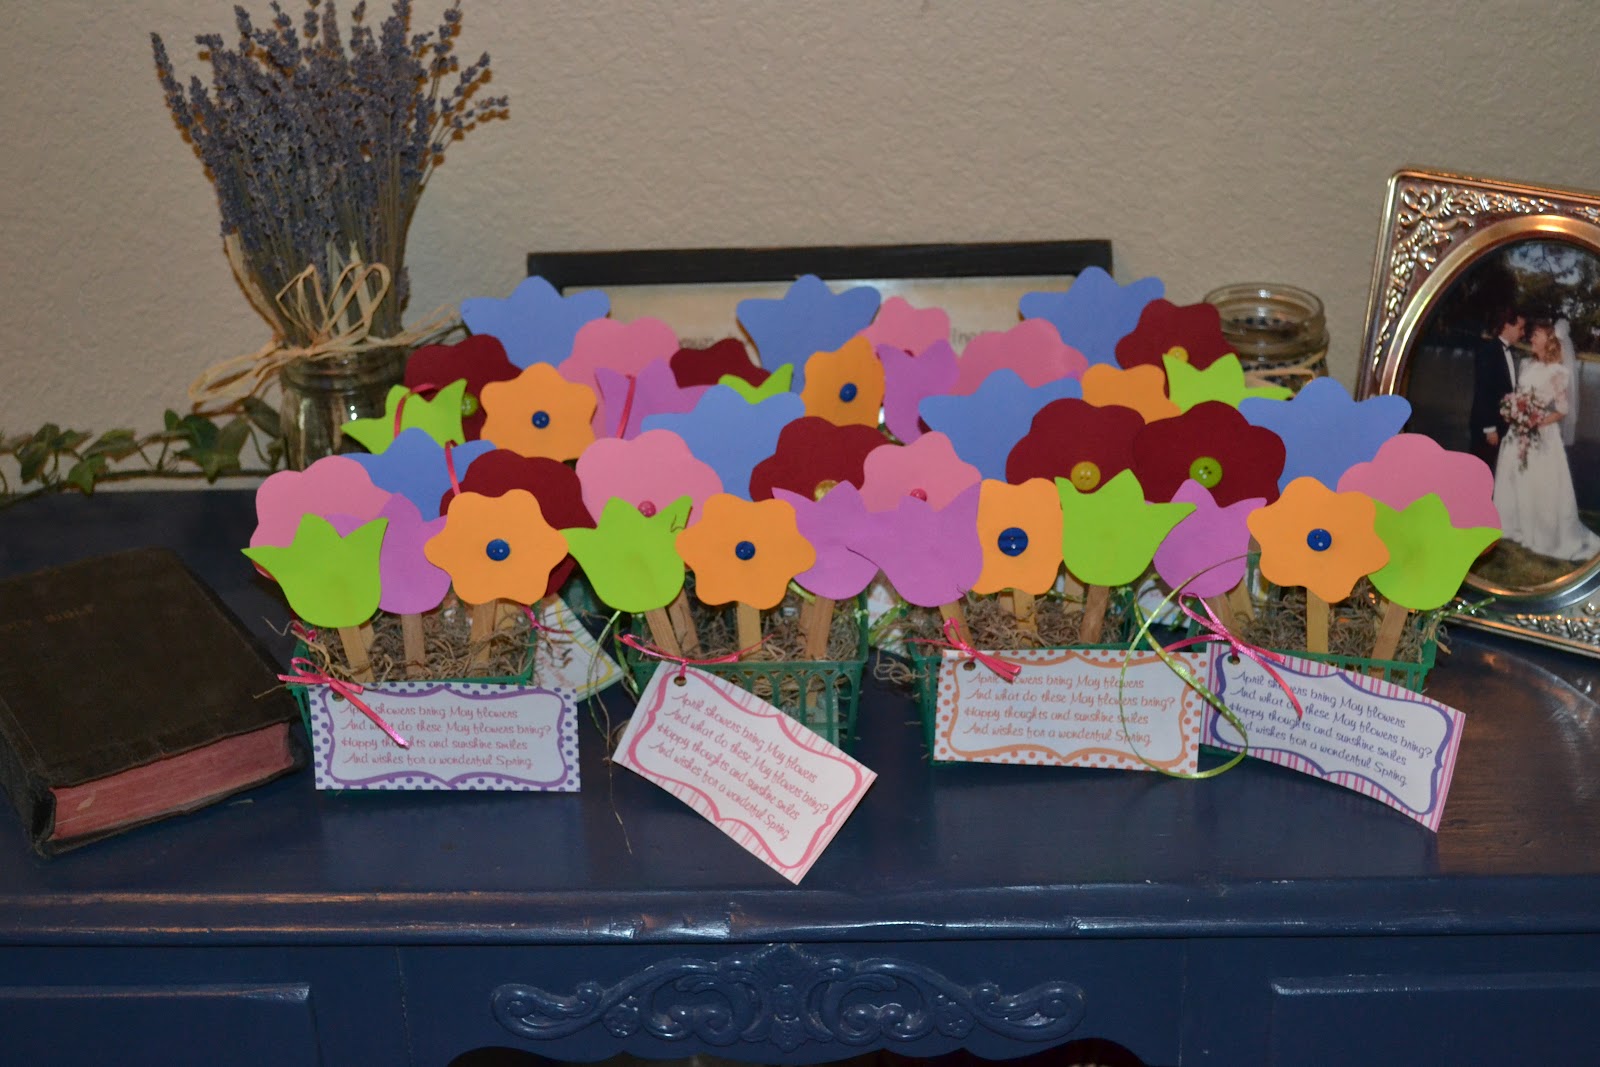
Buttons were glued to the center of some of the flowers, then all the flowers were glued to the craft stick.  We added six flowers to each basket by gently pressing them into the flower foam.
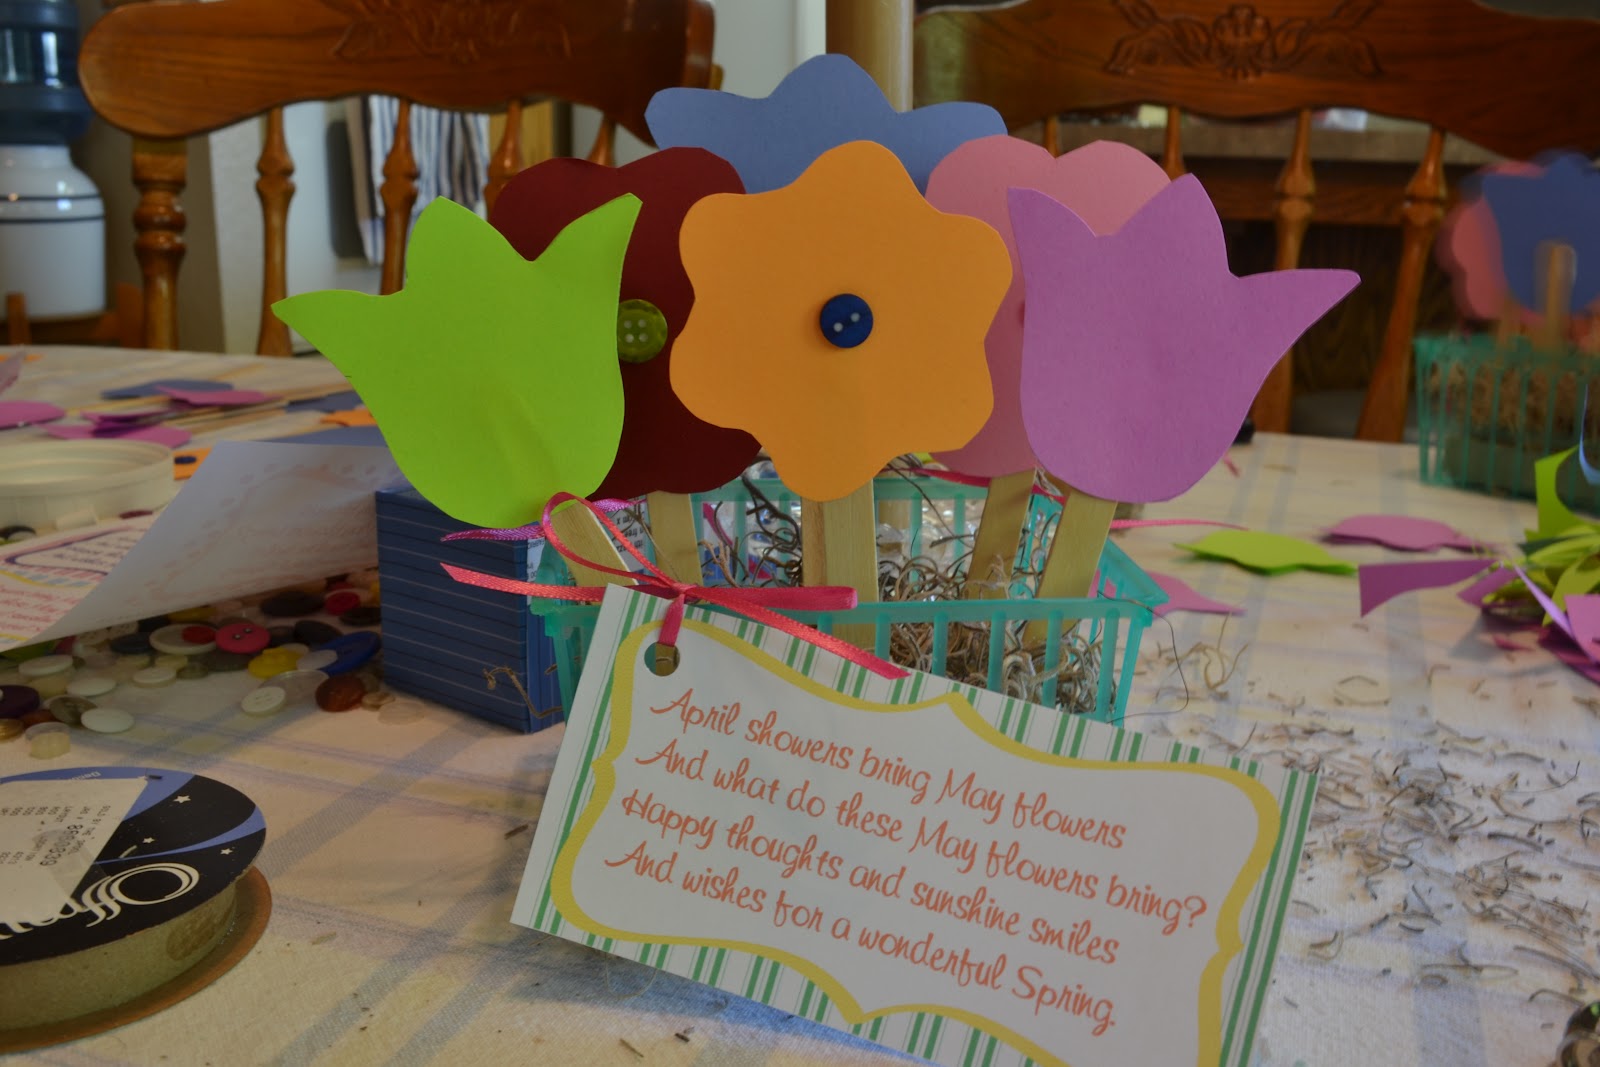
I found a cute May Day printable on Pinterest to add to each basket.
Doesn't it look great hanging on a door knob? :)
The kids were up at 6:30am yesterday to deliver all of our May Day baskets. They have such a fun time doing this! Have you ever done May Day baskets for your neighbors?

Pennant Banner Tutorial

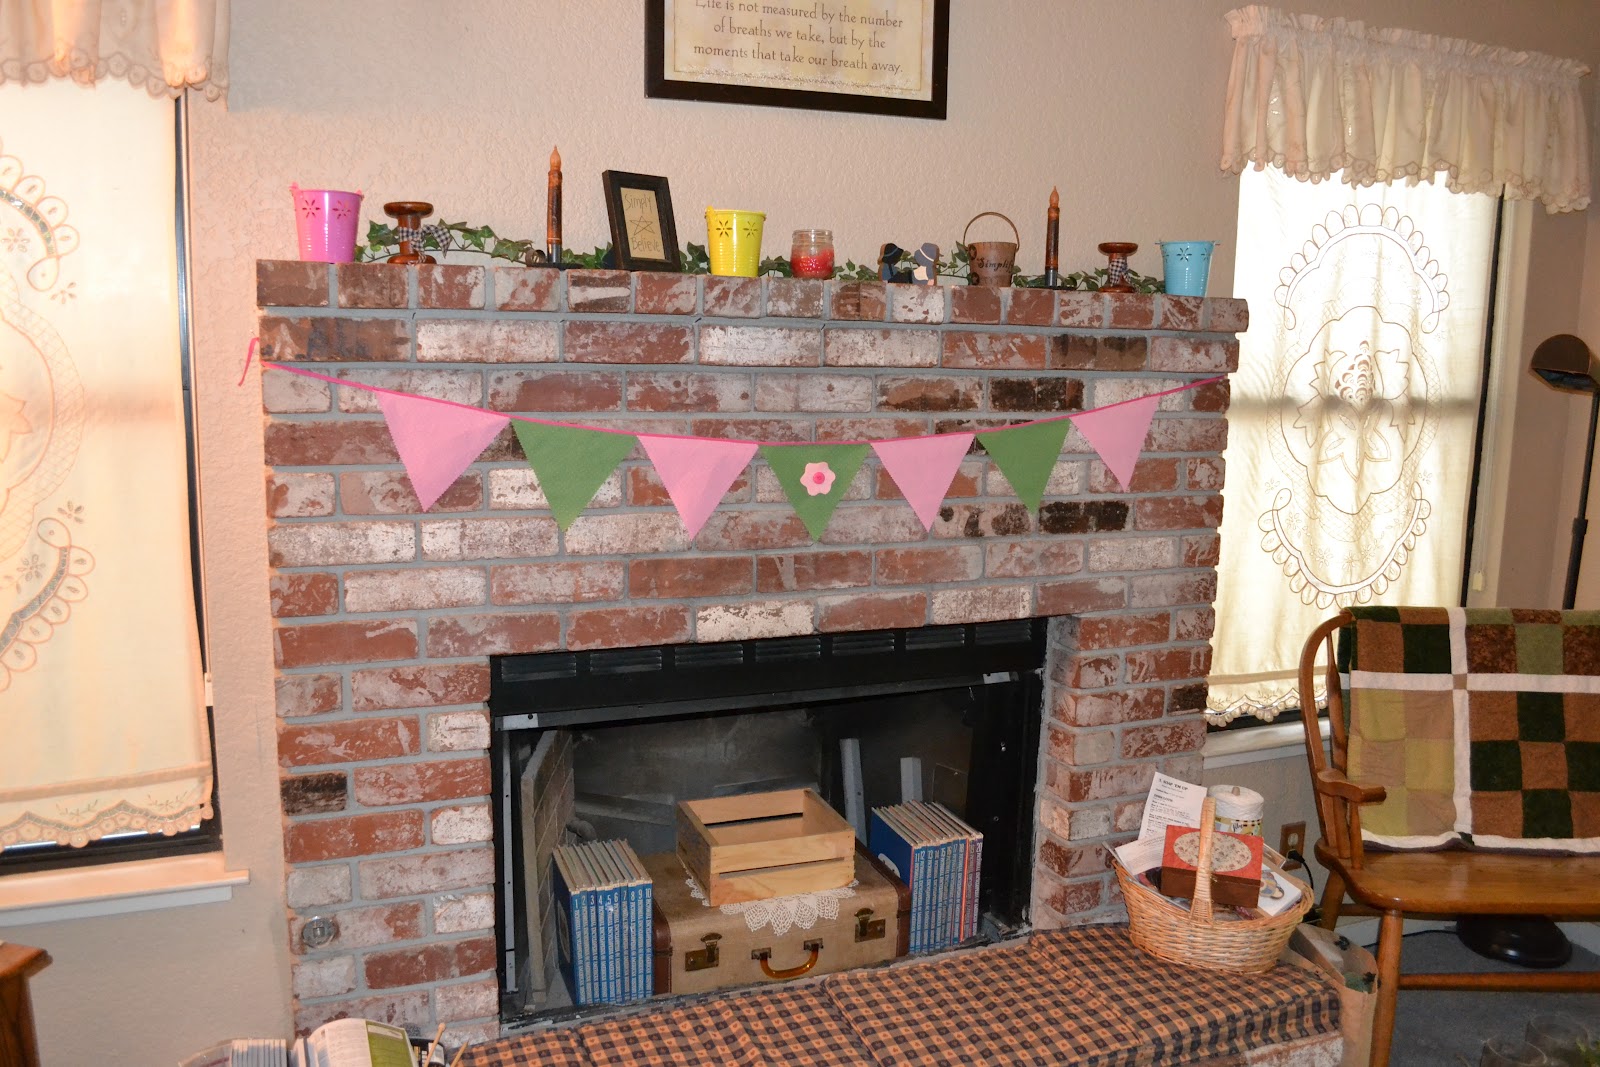
My mantle was looking a little bare of spring
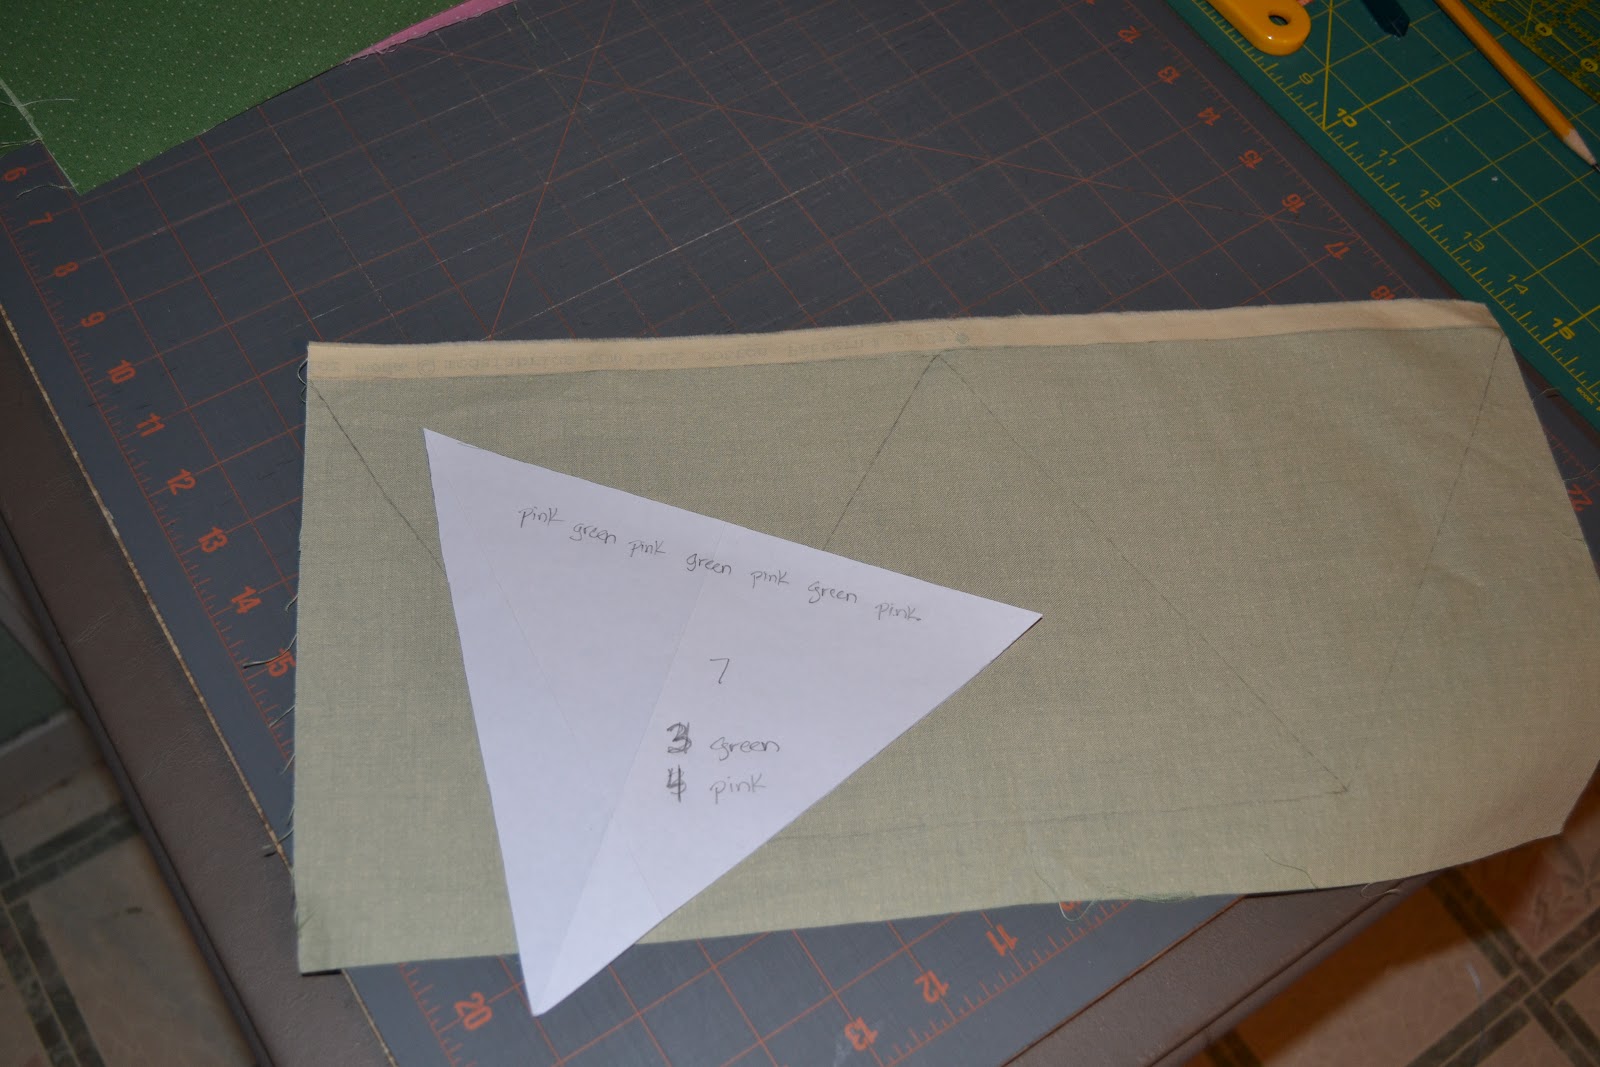
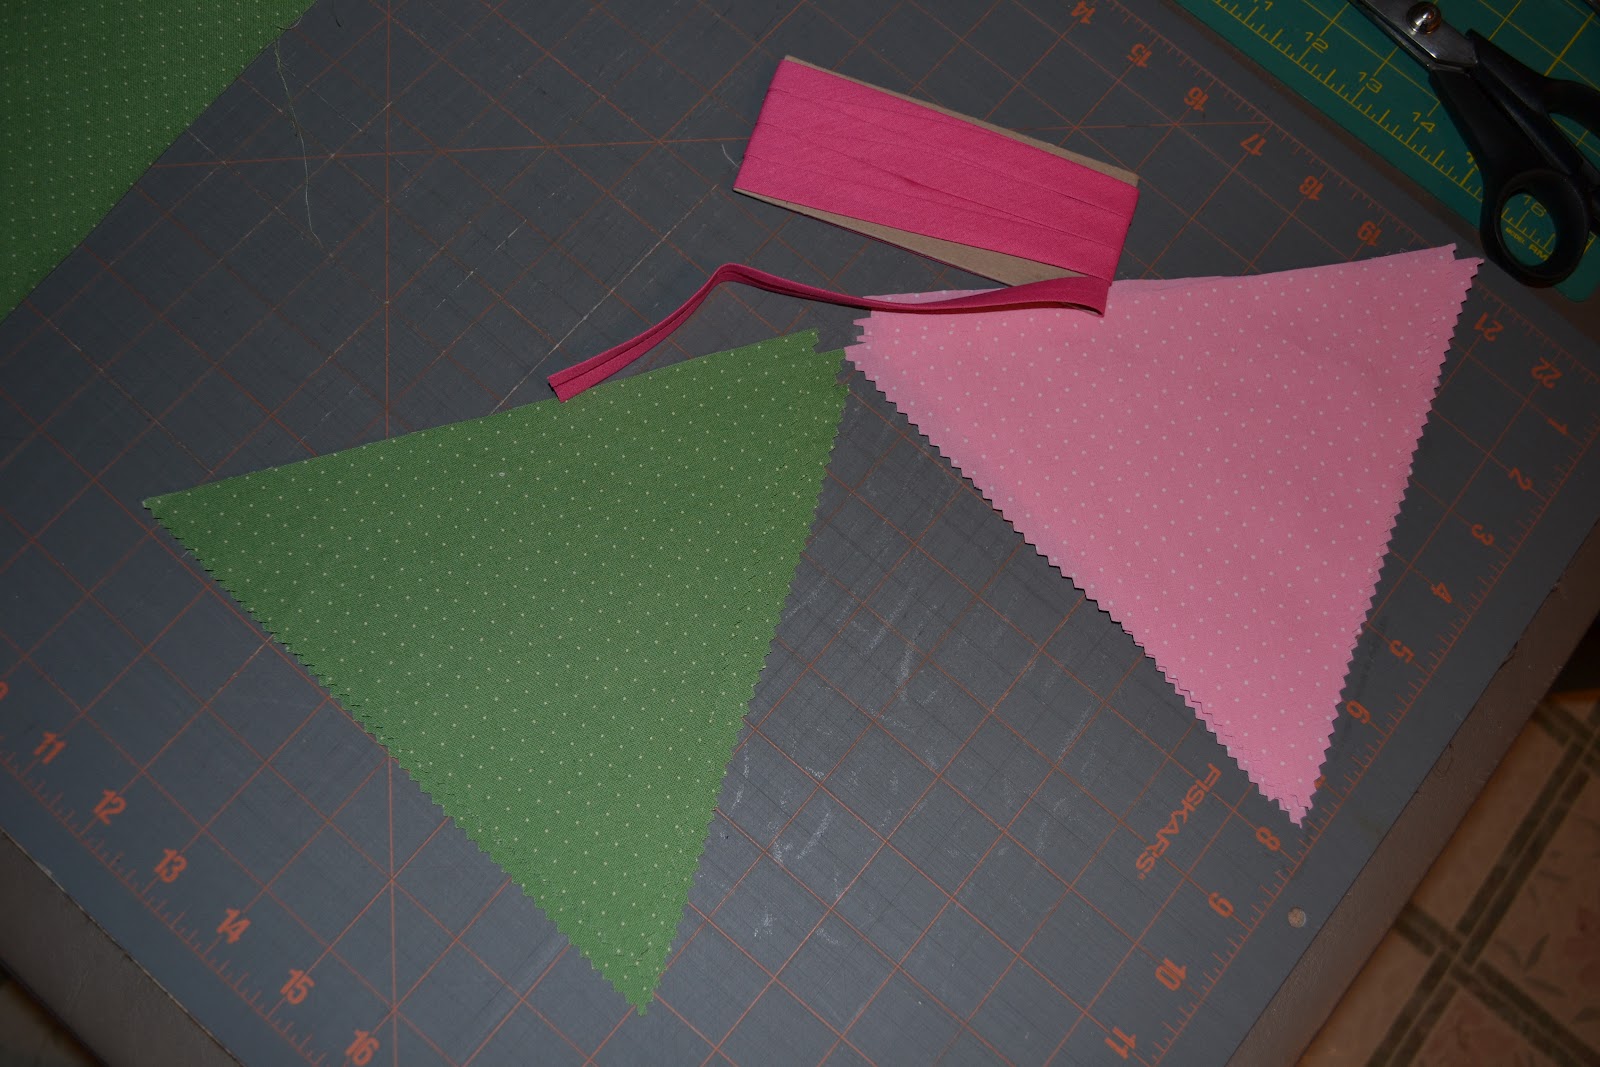
So I created a triangle template and cut the triangles out from some spring looking scrap material (I cut 2 sides with my pinking shears and one side with regular scissors)
I found some single fold bias tape in a good coordinating color
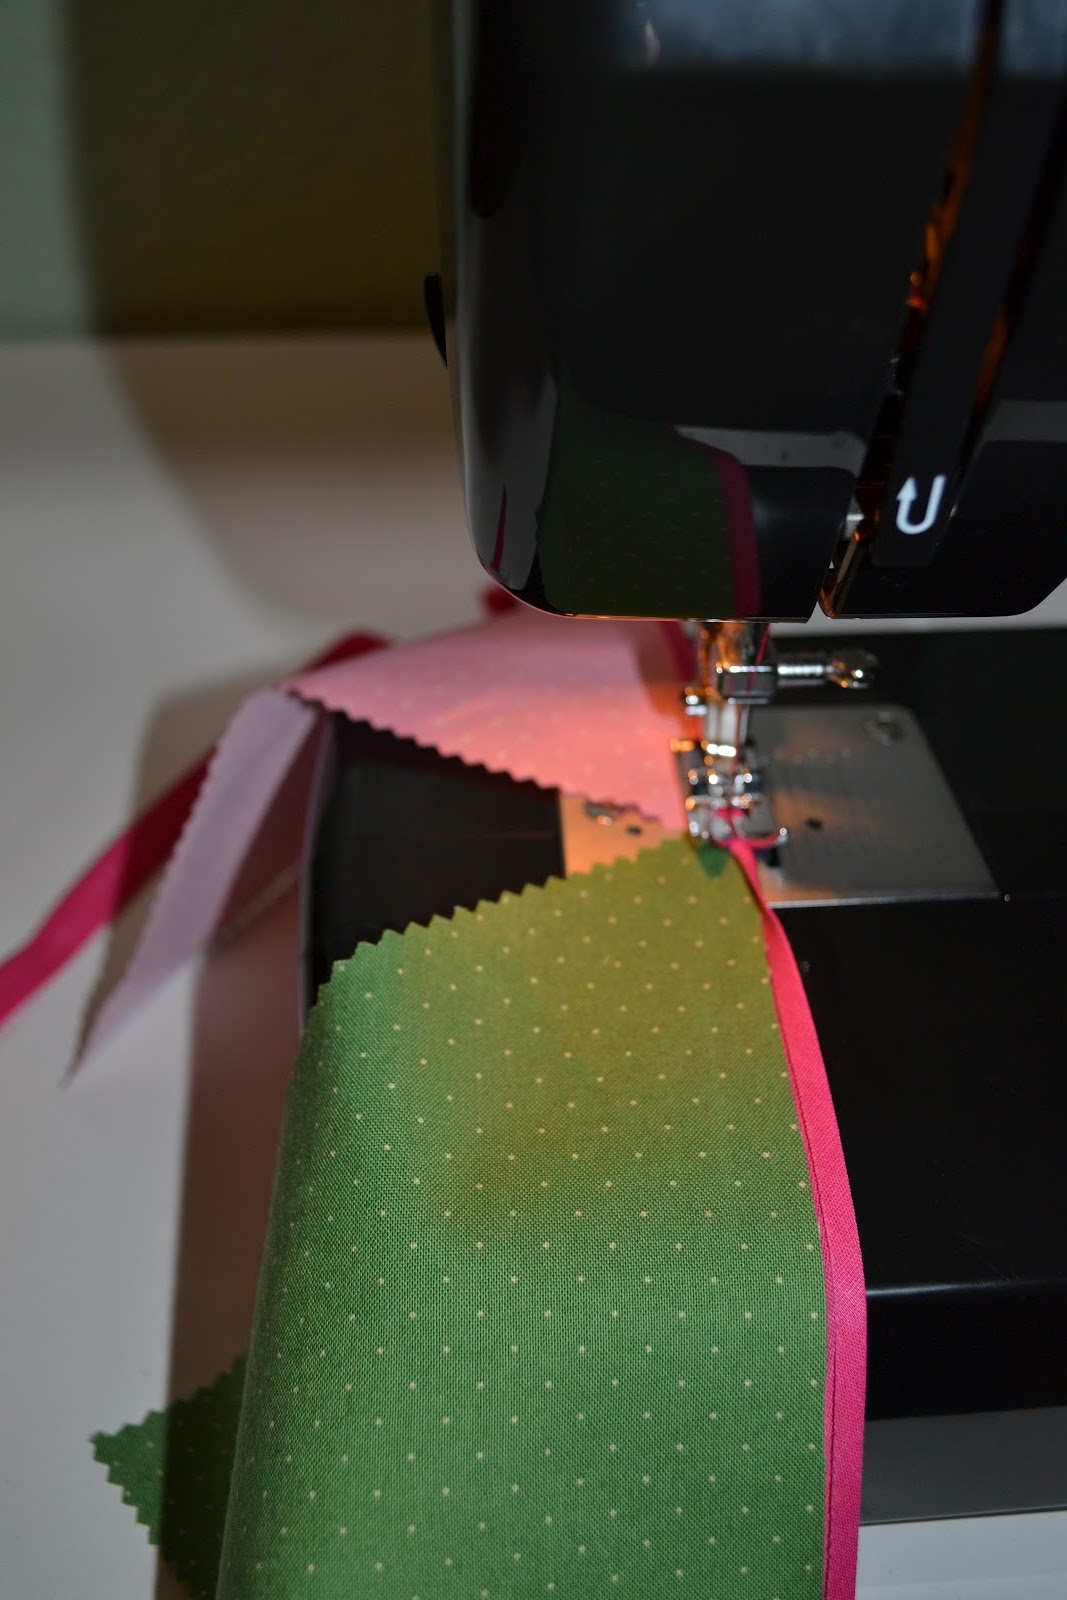
At the sewing machine, I folded over the bias tape along the raw edge of the triangle
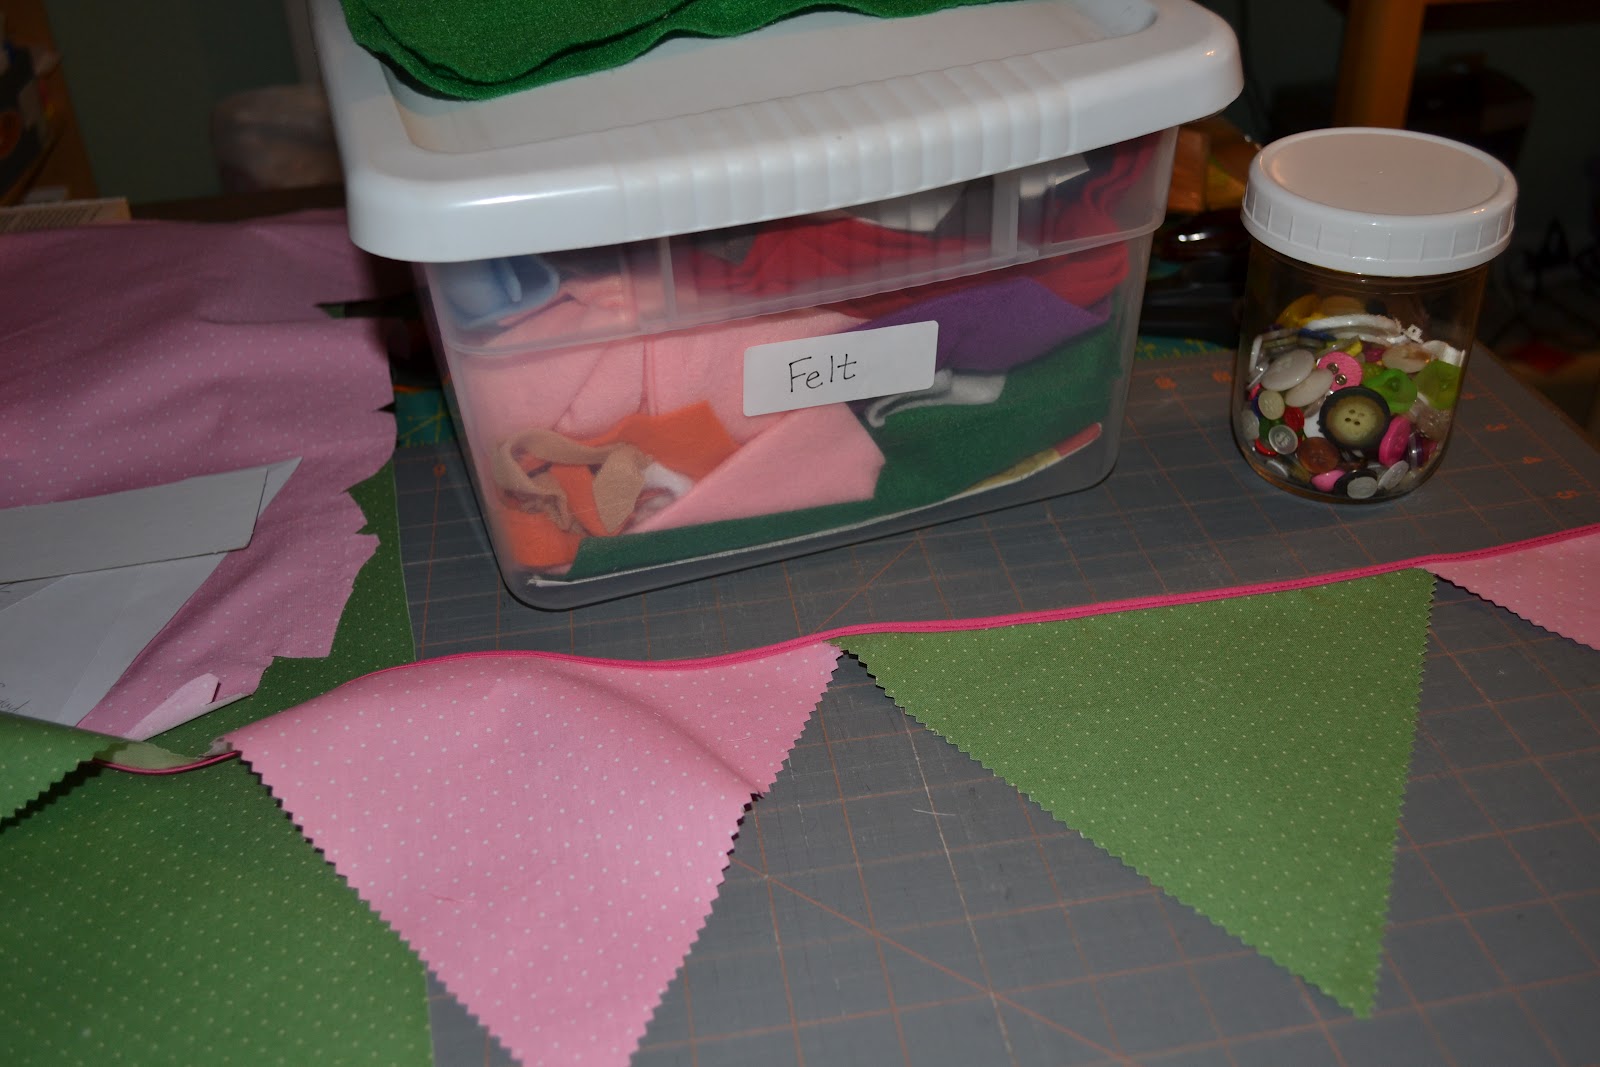
The middle triangle needed something a little extra, so out came the box of felt and jar of buttons
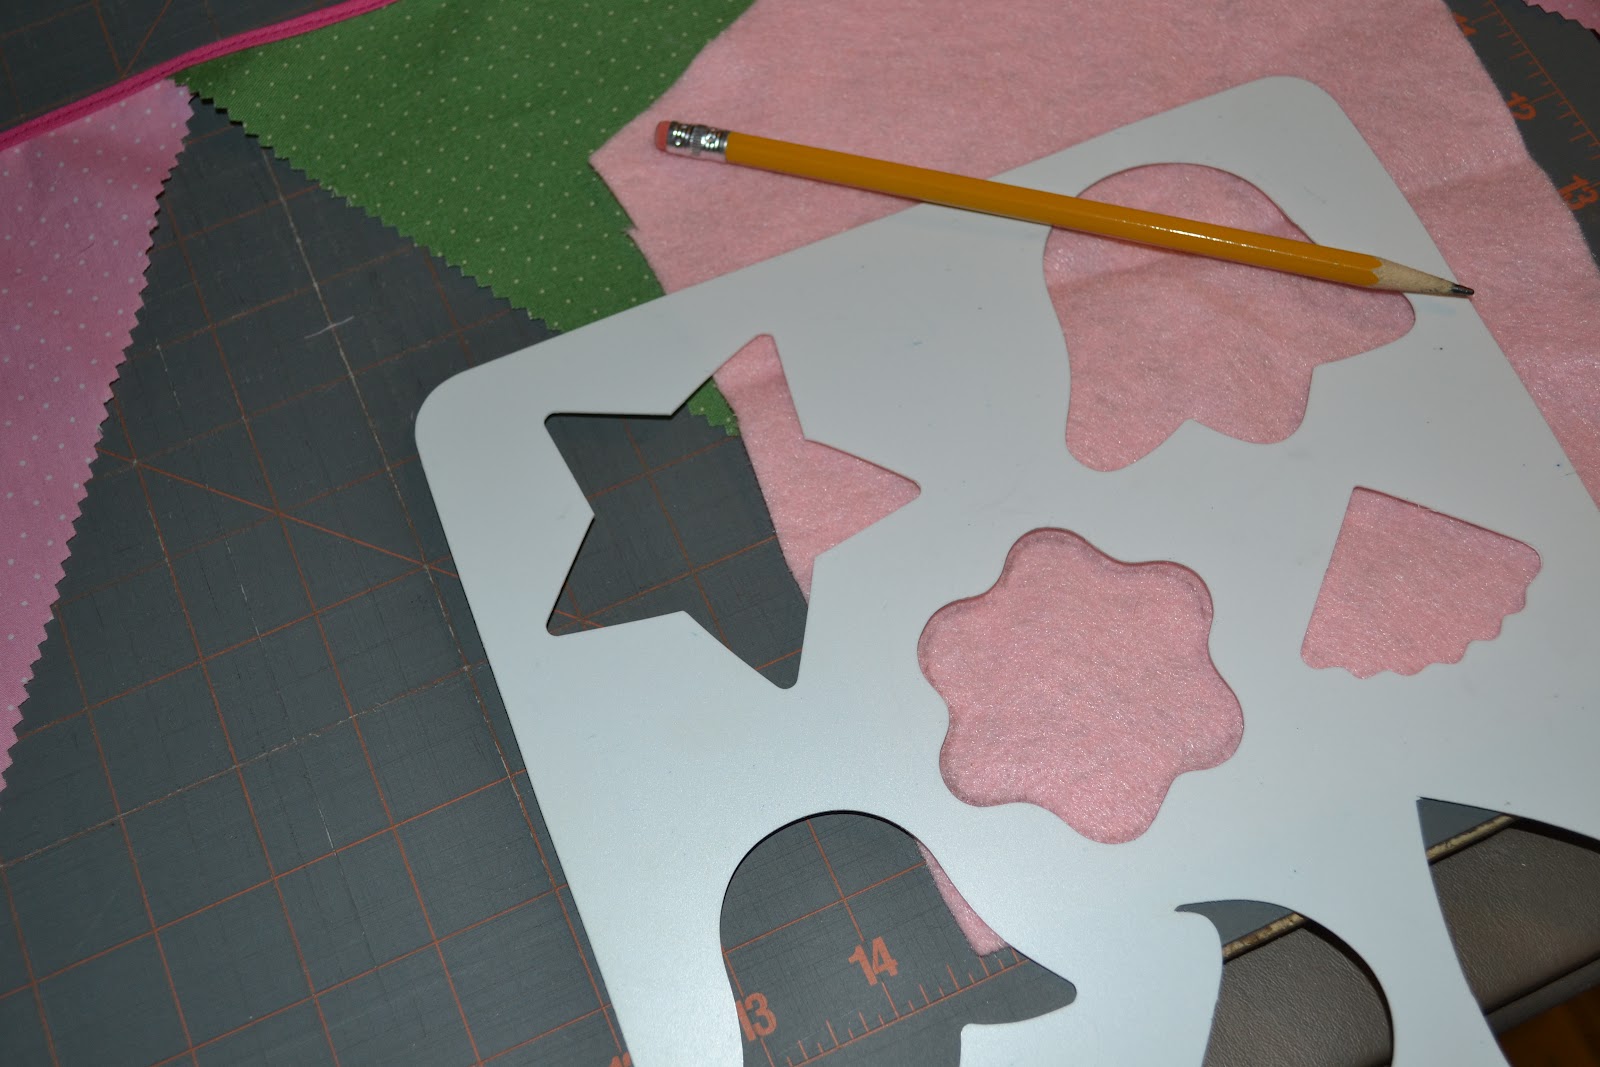
Using a template, I cut a flower shape out of the felt
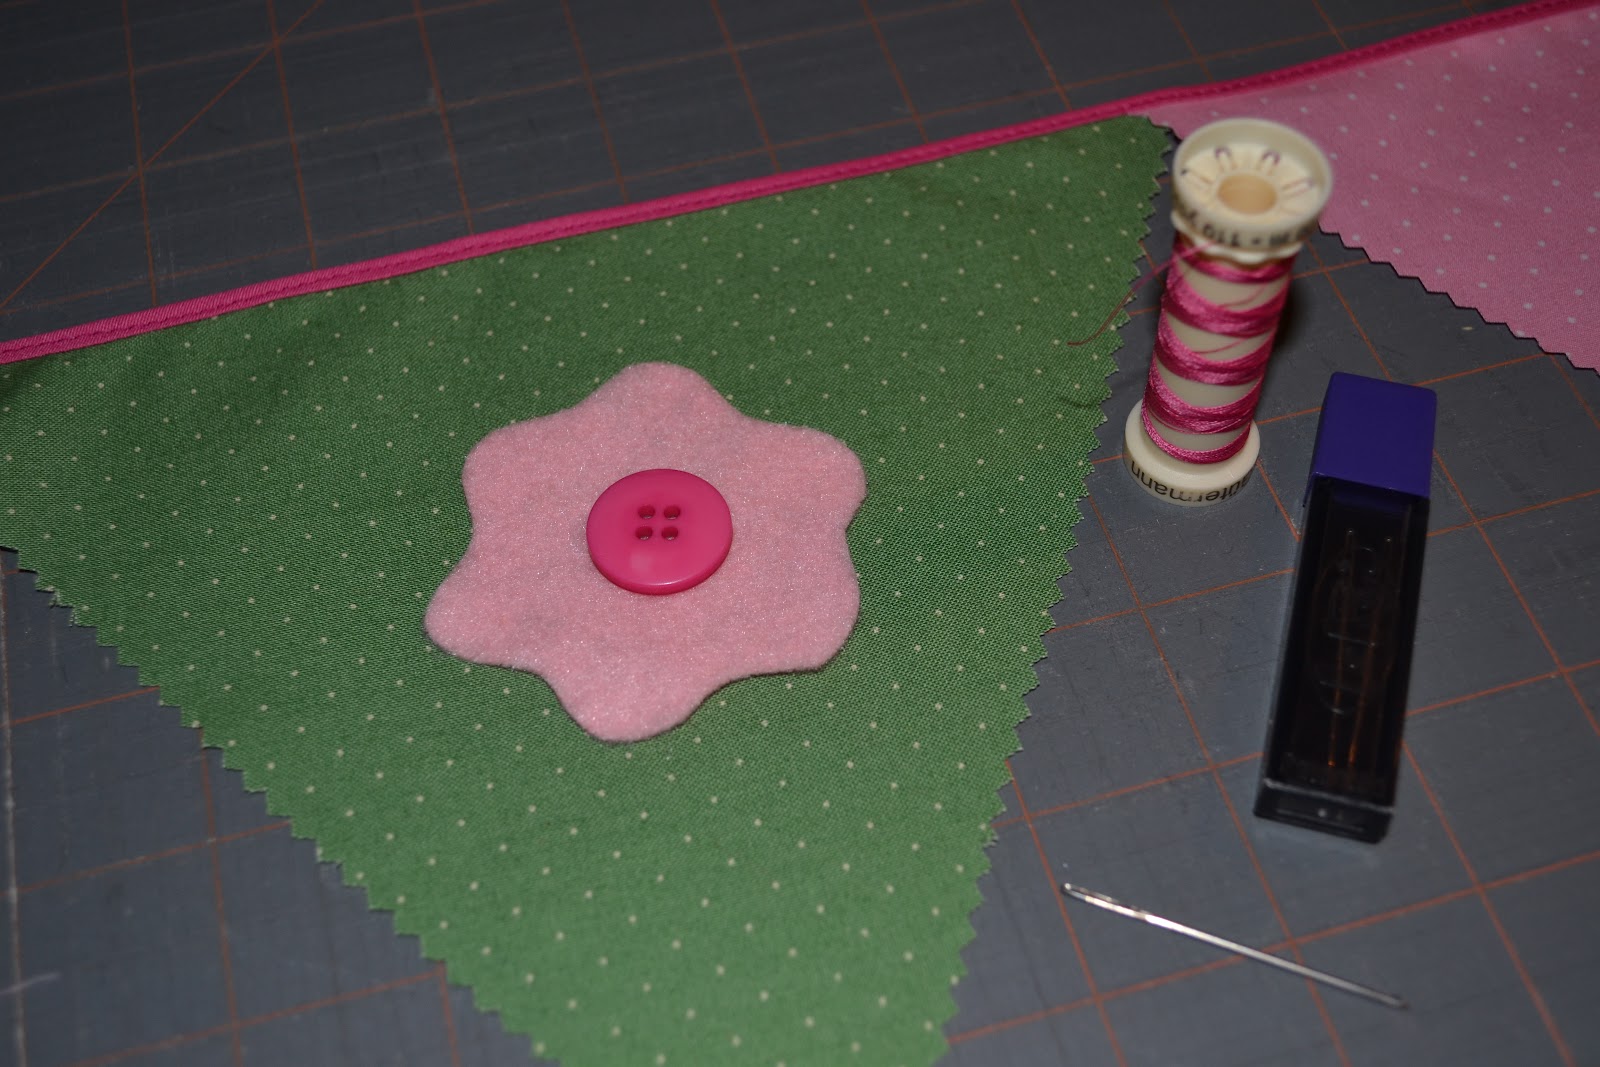
Hand stitched a button through the center of the felt flower through the middle triangle on the banner
And now the mantle looks a little more like spring!


Baby Wash Cloth Tutorial

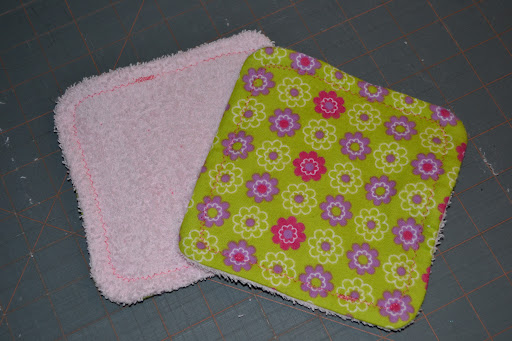
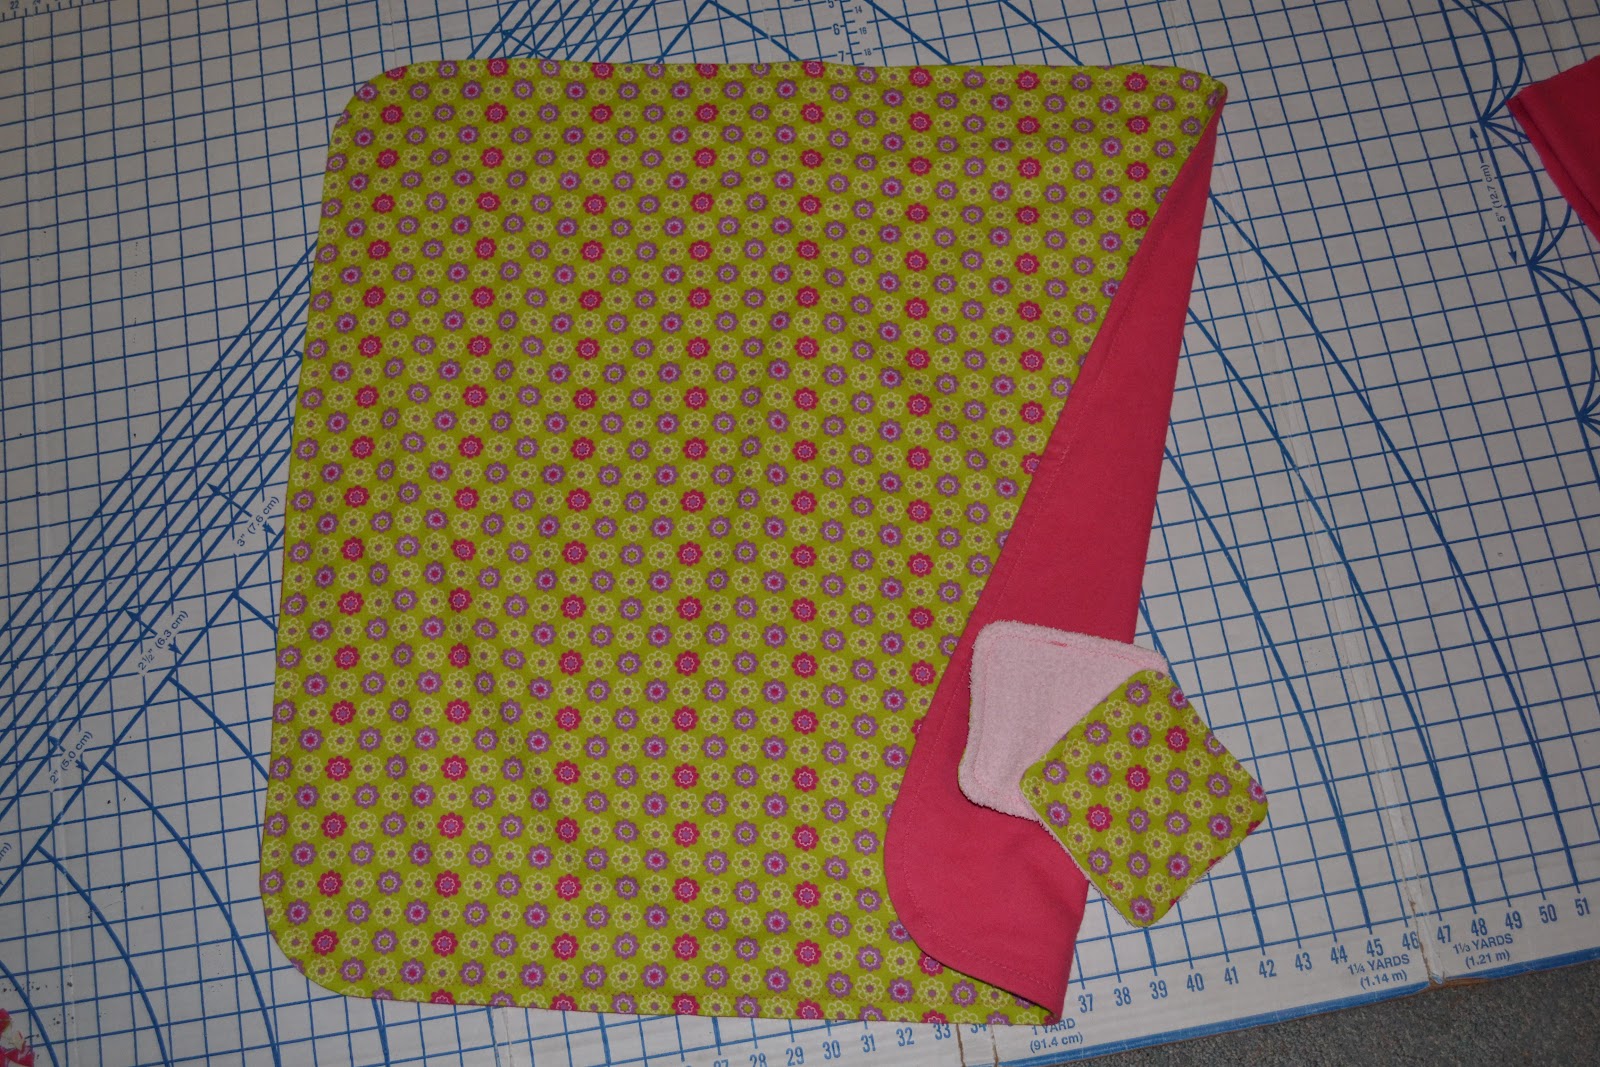
Last week, I shared with you how to make a flannel baby blanket. If you made the blanket, you know there will be some extra flannel material. I have been using the extra flannel material to make baby washcloths!

The steps are very similar to making a blanket, just a little smaller this time.

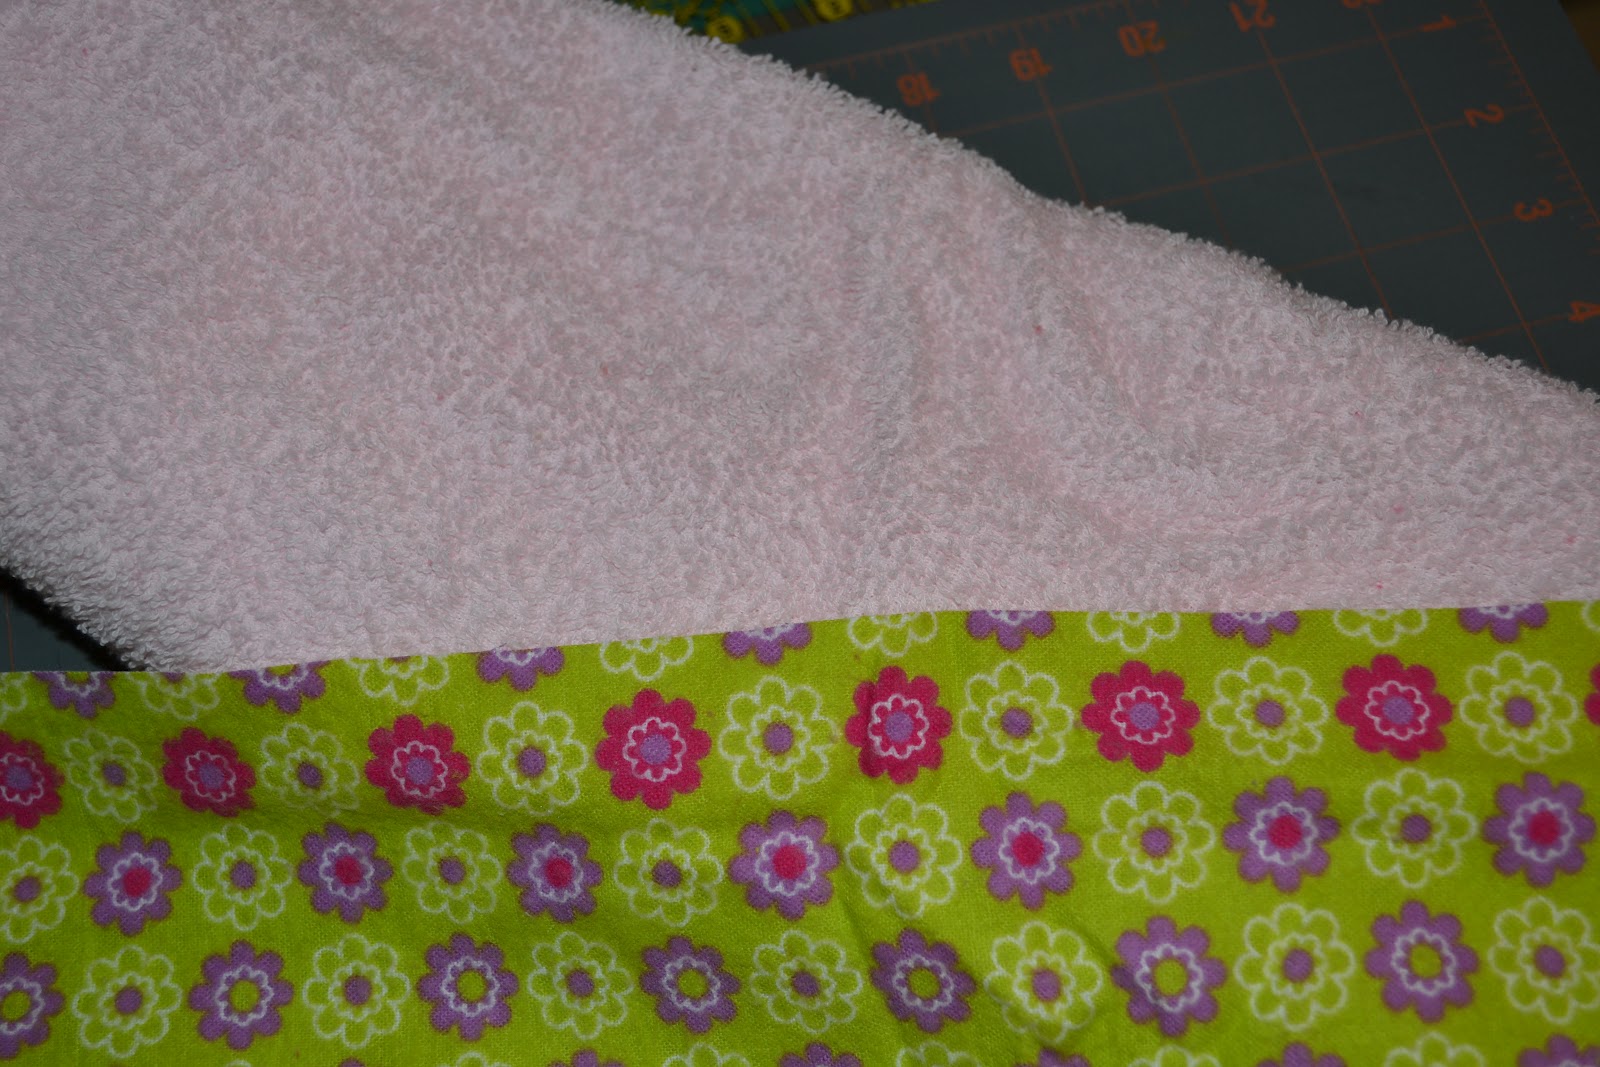
Find a coordinating terry cloth material to go with your flannel print. You will not find a lot of choices for terry cloth at the fabric store, so just pick something that will match most of the flannel you have on hand.

I use my quilting tools to cut out 6 inch squares from the flannel print and terry cloth.

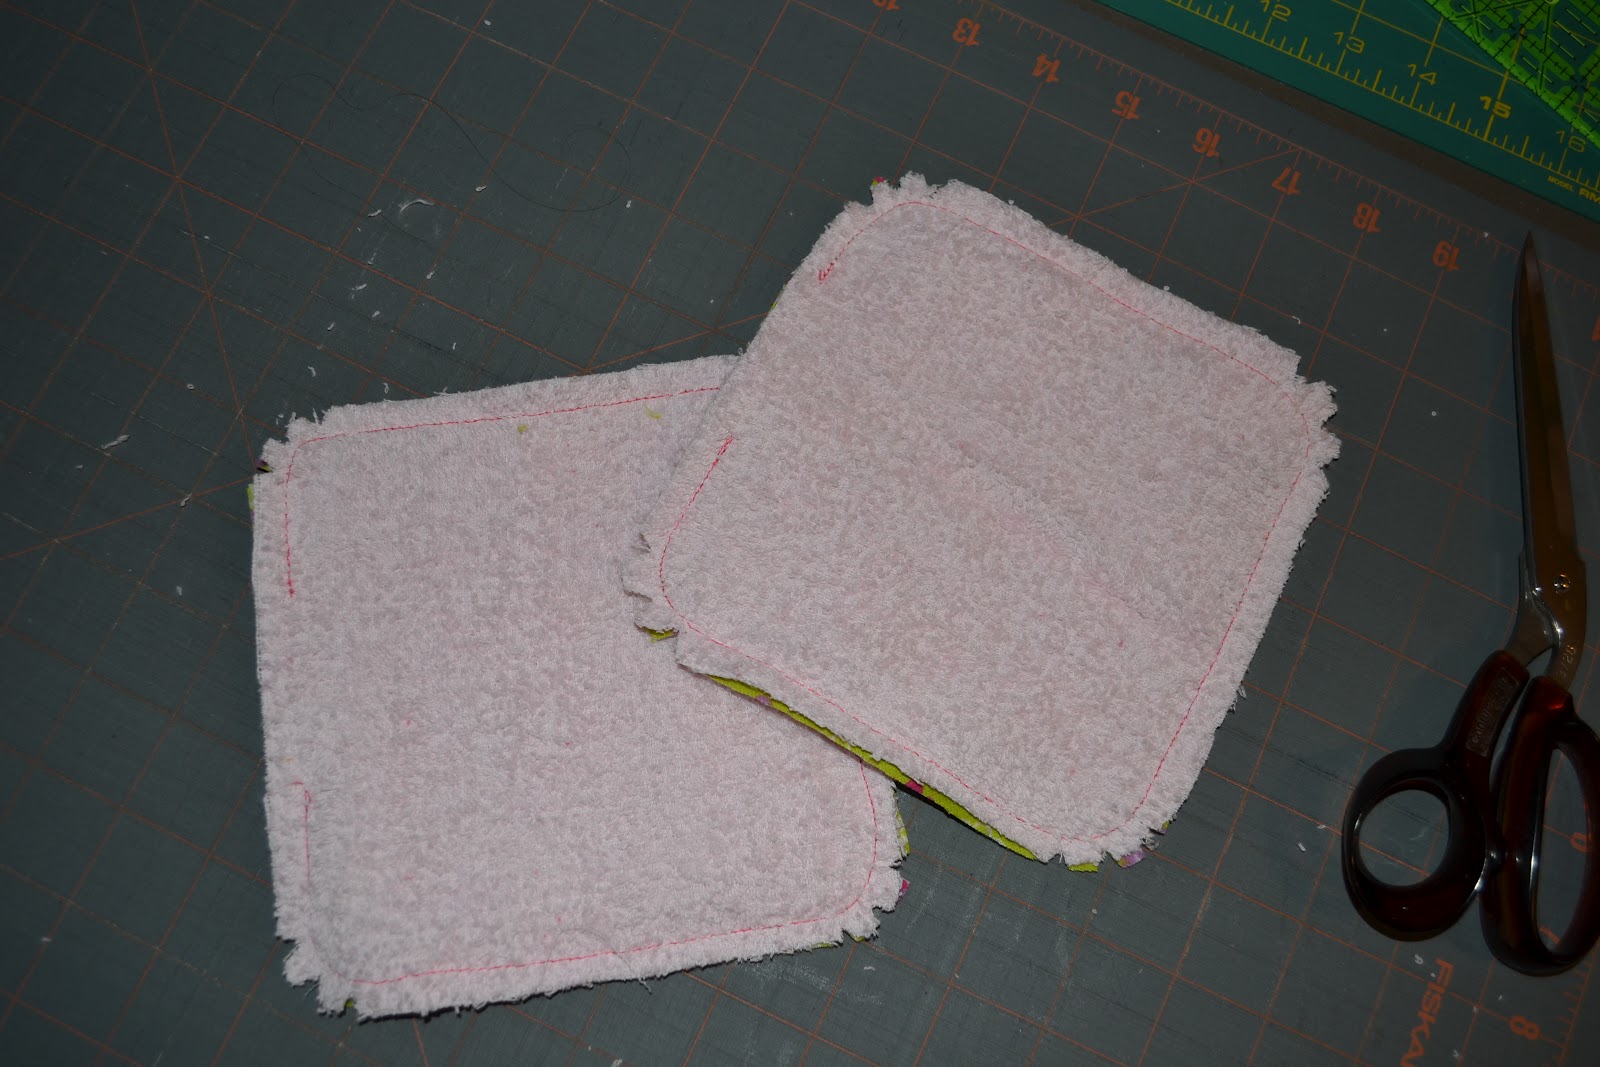
With right sides of one flannel print and one terry cloth square pinned together, I take my scissors and slightly round each of the corners.

Time to move to the sewing machine! I use about a 1/4 inch seam on these, but remember to leave an opening to turn these right side out!

Clip each of the corners like you did for the blanket.

Pull in the right side out through the opening you left.

Give each wash cloth a press with the iron.

Back to the sewing maching to zig-zag stitch around.

Time for some thread and a needle to stitch closed that opening.

Ta da! In less than one hour and for less than $5, you can have a really nice homemade baby gift!